Fall 2023 ︎︎︎Purchase College, SUNY
︎︎︎
(DES3090) Interactive & Experience Design
Syllabus
Fall 2023 ︎︎︎Purchase College, SUNY
︎︎︎
(DES3090) Interactive & Experience Design
Schedule & whiteboards
08/28/2023
-
Introductions & Expectations
-
Intro → What's on Top of the Deck?
-
Intro → CPX Installation
- HW →
- Complete and upload What’s on Top of the Deck?
- Complete CPX Installation and upload evidence
09/04/2023
- No class!
09/11/2023
-
Intro → CPX Recital #1
-
Intro → Create a "Recipe"
-
CPX Warm-up #1 (intro)
-
CPX "Coding Hot-potato" exercise
-
Risograph Demonstration
-
Viewing Party #1
09/18/2023
-
CPX Warm-up #2 (loops)
-
CPX "Coding Hot-potato" exercise
- Initial Idea Check-in → Create a "Recipe"
09/25/2023
-
CPX Warm-up #3 (if)
-
CPX "Coding Hot-potato" exercise
-
Reading #1
10/02/2023
-
CPX Warm-up #4 (sounds + sensors)
-
CPX "Coding Hot-potato" exercise
-
Check-in → Create a "Recipe" & CPX Recital #1
- Viewing Party #2
-
Reading #2
10/09/2023
-
CPX Warm-up #5 (functions)
-
CPX "Coding Hot-potato" exercise
-
Viewing Party #3
-
Check-in → Create a "Recipe" & CPX Recital #1
-
Show planning #1
10/16/2023
-
Reading #3
-
Processing Warm-up #1
-
CPX "Coding Hot-potato" exercise
-
Check-in → Create a "Recipe" & CPX Recital #1
-
Show planning #2
10/23/2023
-
Mid-semester one-on-one reviews
-
Mid-semester informal class feedback
-
Project viewing → CPX Recital
-
Project viewing → Create a "Recipe"
-
Viewing Party #4
-
Processing Warm-up #2
-
CPX "Coding Hot-potato" exercise
-
Show planning #3
10/30/2023
-
Intro → CPX Recital #2
-
Intro → A Change of Boundaries
-
Critique & Writing Review → CPX Recital #1
-
Reading #4
-
Show planning #4
11/06/2023
-
Critique & Writing Review → Create a "Recipe"
-
Viewing Party #5
-
Initial Idea Check-in → A Change of Boundaries & CPX Recital #2
-
Show planning #5
11/13/2023
-
Reading #5
-
Show in 1019
11/20/2023
-
Viewing Party #6
-
Check-in → A Change of Boundaries & CPX Recital #2
11/27/2023
-
Reading #6
-
Check-in → A Change of Boundaries & CPX Recital #2
12/04/2023
- Project viewing → A Change of Boundaries & CPX Recital #2
12/11/2023
-
Critique & Writing Review → CPX Recital #2
-
Critique & Writing Review → A Change of Boundaries
Fall 2023 ︎︎︎ SUNY Purchase ︎︎︎ (DES3090) Interactive & Experience Design
Project:
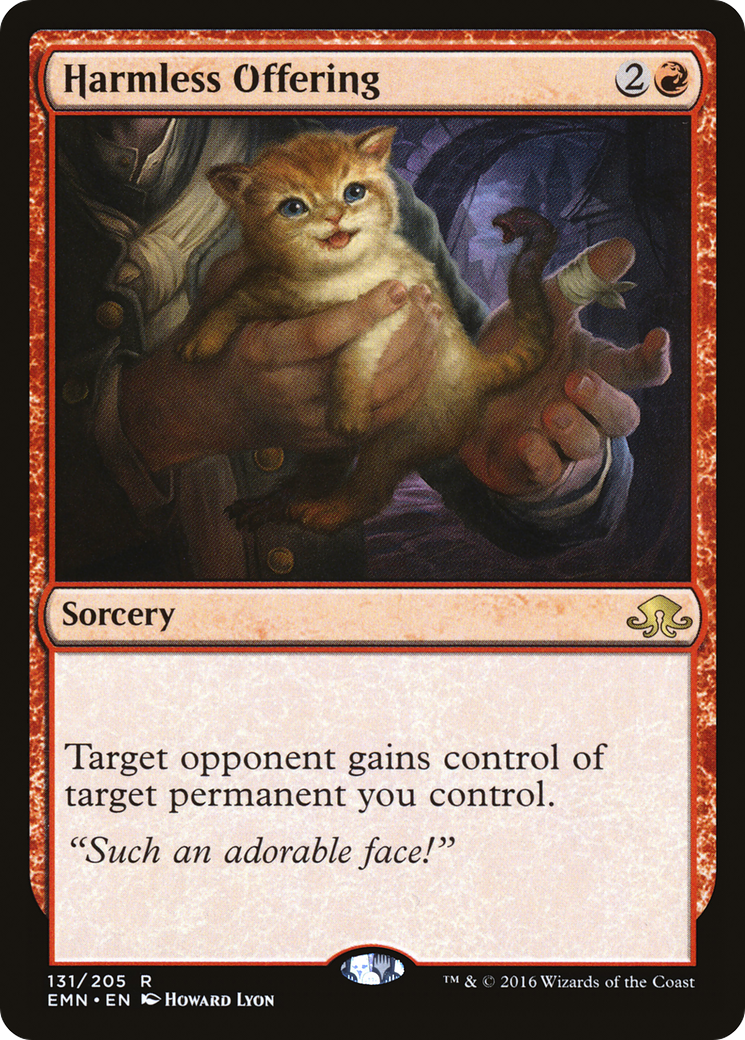
what’s on top of the deck?
 “A hand with a Magic: The Gathering card in a colorful room. In the style of B-Robo Kabutack or Tetsuwan Tantei Robotack. Shot on film from the 1990's” on RunwayML
Background
Magic: The Gathering and many card games are based on variance; or the semi-random nature of how the cards are arranged in your deck. This leads to many unfortunate or frustrating circumstances, but also ones that are incredibly exciting:
As such, I’m instituting a new policy to help me call on folks randomly where I draw from a deck of cards you create.
This is 2 week “icebreaker” project. There are no real restrictions on this one so use this as an opportunity to show your style, what you got, etc. as latter assignments will feature significantly more restrictions. All you have to do is create a card which I can randomly pick when I need to call on folks.
Objective(s)
- Create a card which can be printed and used when I need to call on folks randomly.
- Help me have something to connect to your name to help me to memorize it.
- Show your idiosyncratic style or approach.
Final submission
- A .PNG or .JPG of a 2.5"︎ 3.5" image at 150DPI or 300DPI. This will be 375px ︎525px or 750px︎1050px respectively for reference.
Requirements
Note that failure to meet these requirements will result in a 0 for this assignment. I’m deadass here.
- The card image must contain the following information.
- Your name (and or preferred name, if applicable)
- Your preferred pronouns.
- The semester (ie Fall 2023)
- The name or course number of the class
- It does not need to be in English, but if uses letters not in the Latin alphabet (Cyrillic, Hangul, etc.) please provide one for pronunciation purposes. Please make it relatively readable.
- The card image must contain some kind of other content: A drawing of an OC, a stylized self-portrait, a photo you like, a pattern, etc. You must create this content yourself (please at least manipulate an image; do not lazily copypasta something from Google Images).
- Please print on a relatively thin piece of paper. Do not print on a thicker piece of cardstock or attempt to glue or adhere multiple pieces of paper together. I will be sleeving the cards with an actual Magic: the Gathering card for rigidity and want to preserve randomness as best as possible. That is to say, I don’t want to be able to tell whose card is whose without seeing the card itself.
Grading
This assignment is pass/fail; meaning you will get 100/A+ if you simply follow the requirements above. You will lose points (10 points or one full letter grade), if it is uploaded late, and an additional 10 points per week it is late.Considerations
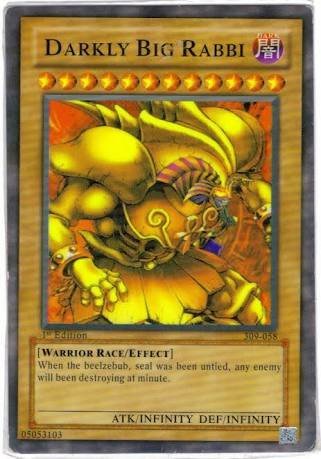
- The image must print out at the physical size listed above because I will be printing them out and putting them into a standard-sized card sleeve (ie the ones used for Magic: The Gathering and Pokemon). If for some reason you want to parody a Yugioh or Tarot card, that is fine but know they are typically different sizes.
- Do you, don’t worry about me. Some people take a while to get a hold of this but show me what you’re into, what you want your work to look like, don’t try to anticipate my preference. Additionally my taste is quite bad ︎.
- If you are using photographs consider treating them; tastefully. People sometimes just add photographs without adjusting their contrast, adding a filter, collaging them, or something of that nature.
Here’s a couple of tutorials with different ways to stylize your images.
Relevant Dates
08/28/2023 ︎︎︎Introduction!
09/11/2023︎︎︎Review & Collection.
Examples


Fall 2023 ︎︎︎ Purchase College, SUNY︎︎︎ (DES3090) Interactive & Experience Design
knitting Circle: PYthon + CPE Installing & testing
Background
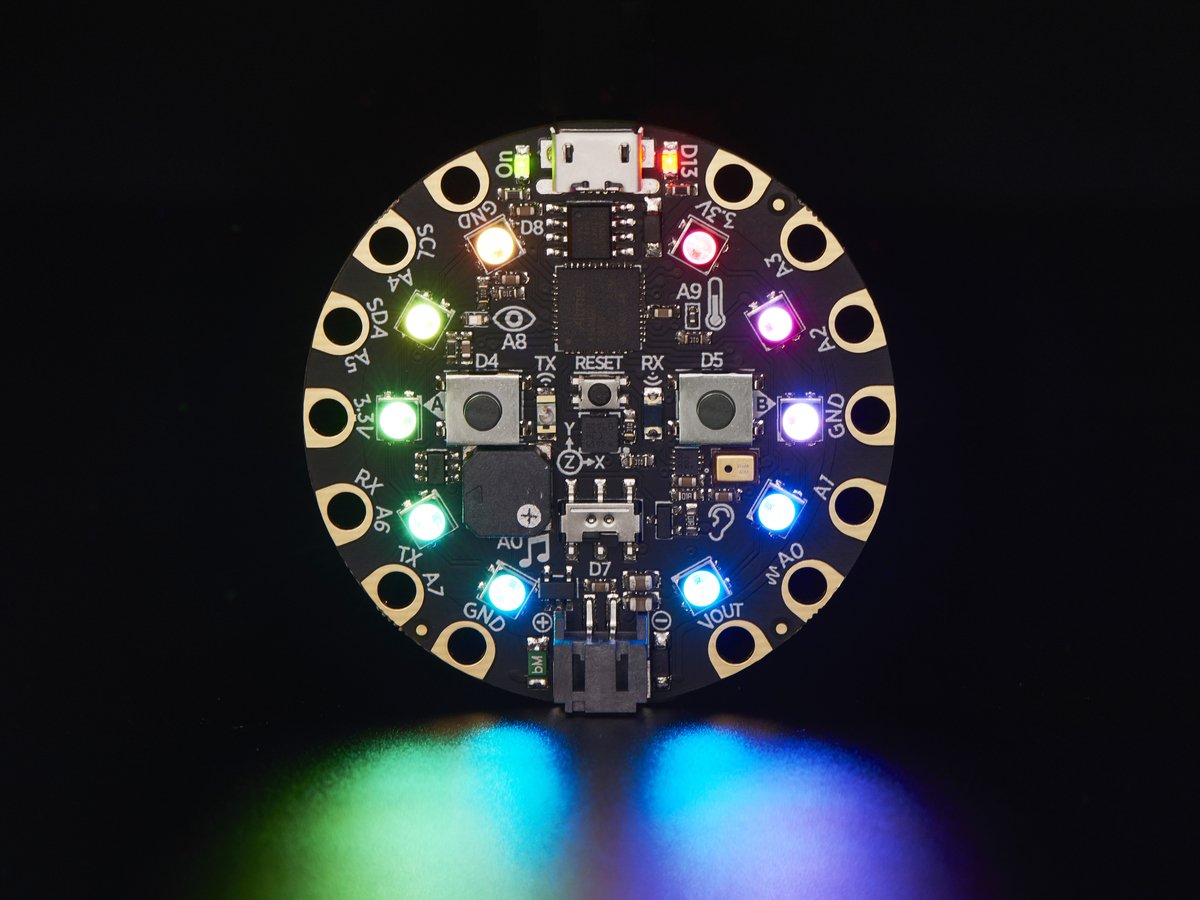
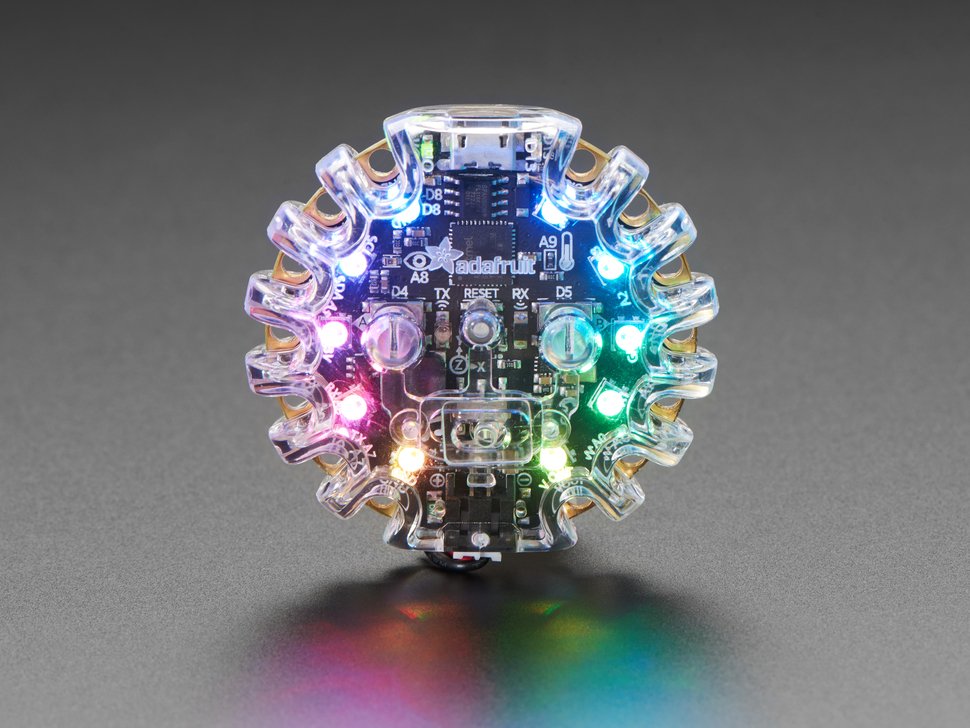
For the programming stuff we’ll be doing in this class, we’ll be using the Circuit Playground Express (pictured above), which you’ll receive from me. The kit includes the CPE itself, alligator clips, a USB cable, and extra LED’s. I also have USB to USB-C converters if you need (for newer macs that only have USB-C).
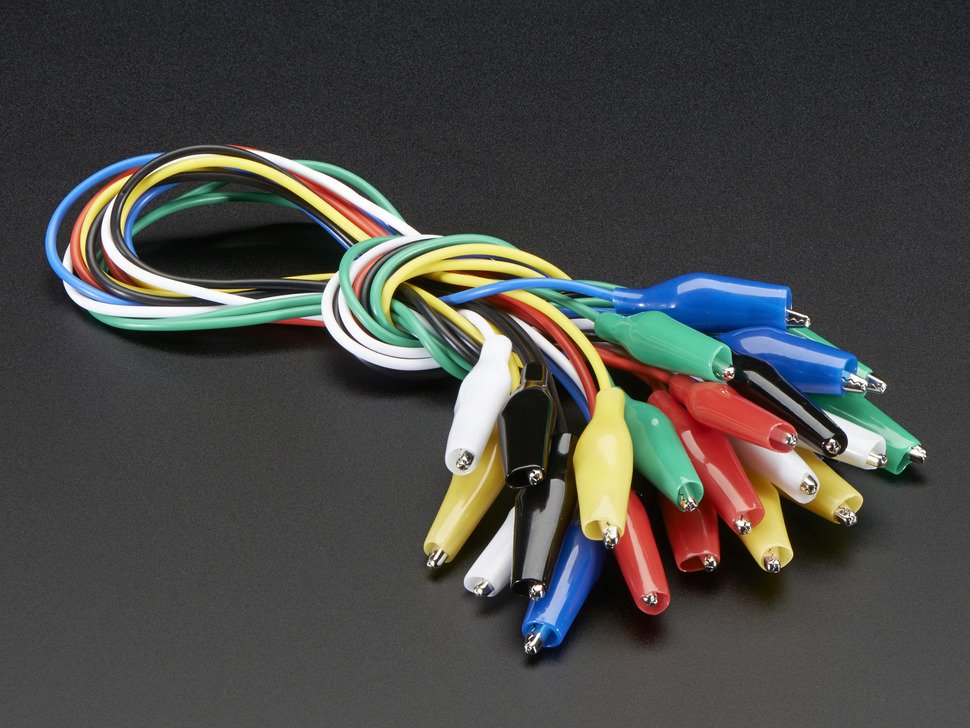
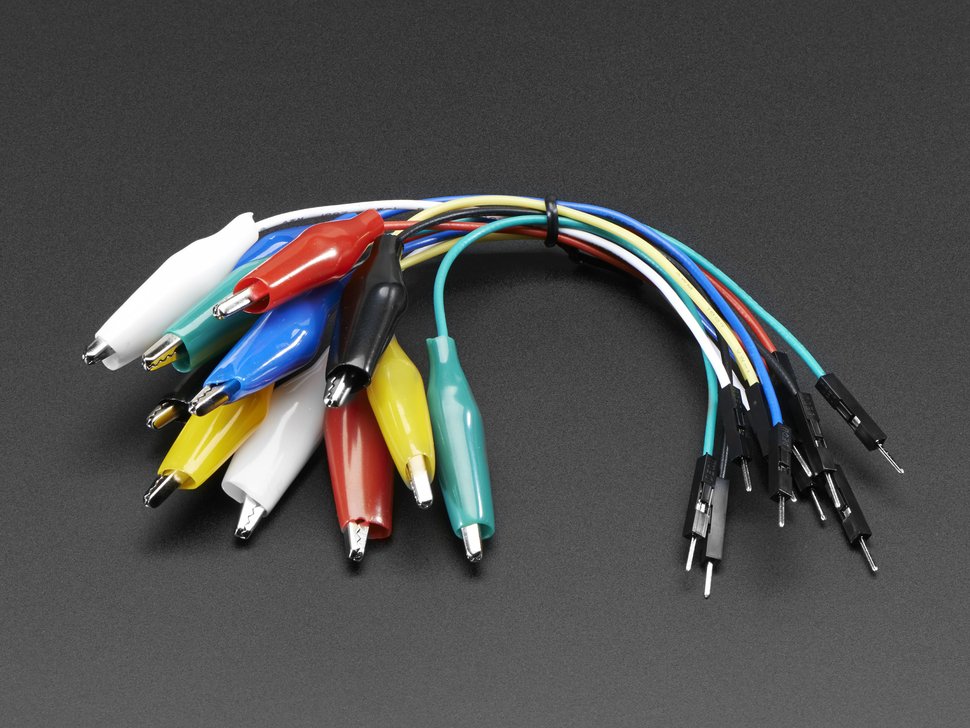
‘Gator clips ︎︎︎![]()
![]() These will help you start connecting you Circuit Playground to other things like electronic components or fruits or what have you. You can get just alligator clips or ones that go to jumper wires if you start playing with other electronic components and breadboards.
These will help you start connecting you Circuit Playground to other things like electronic components or fruits or what have you. You can get just alligator clips or ones that go to jumper wires if you start playing with other electronic components and breadboards.
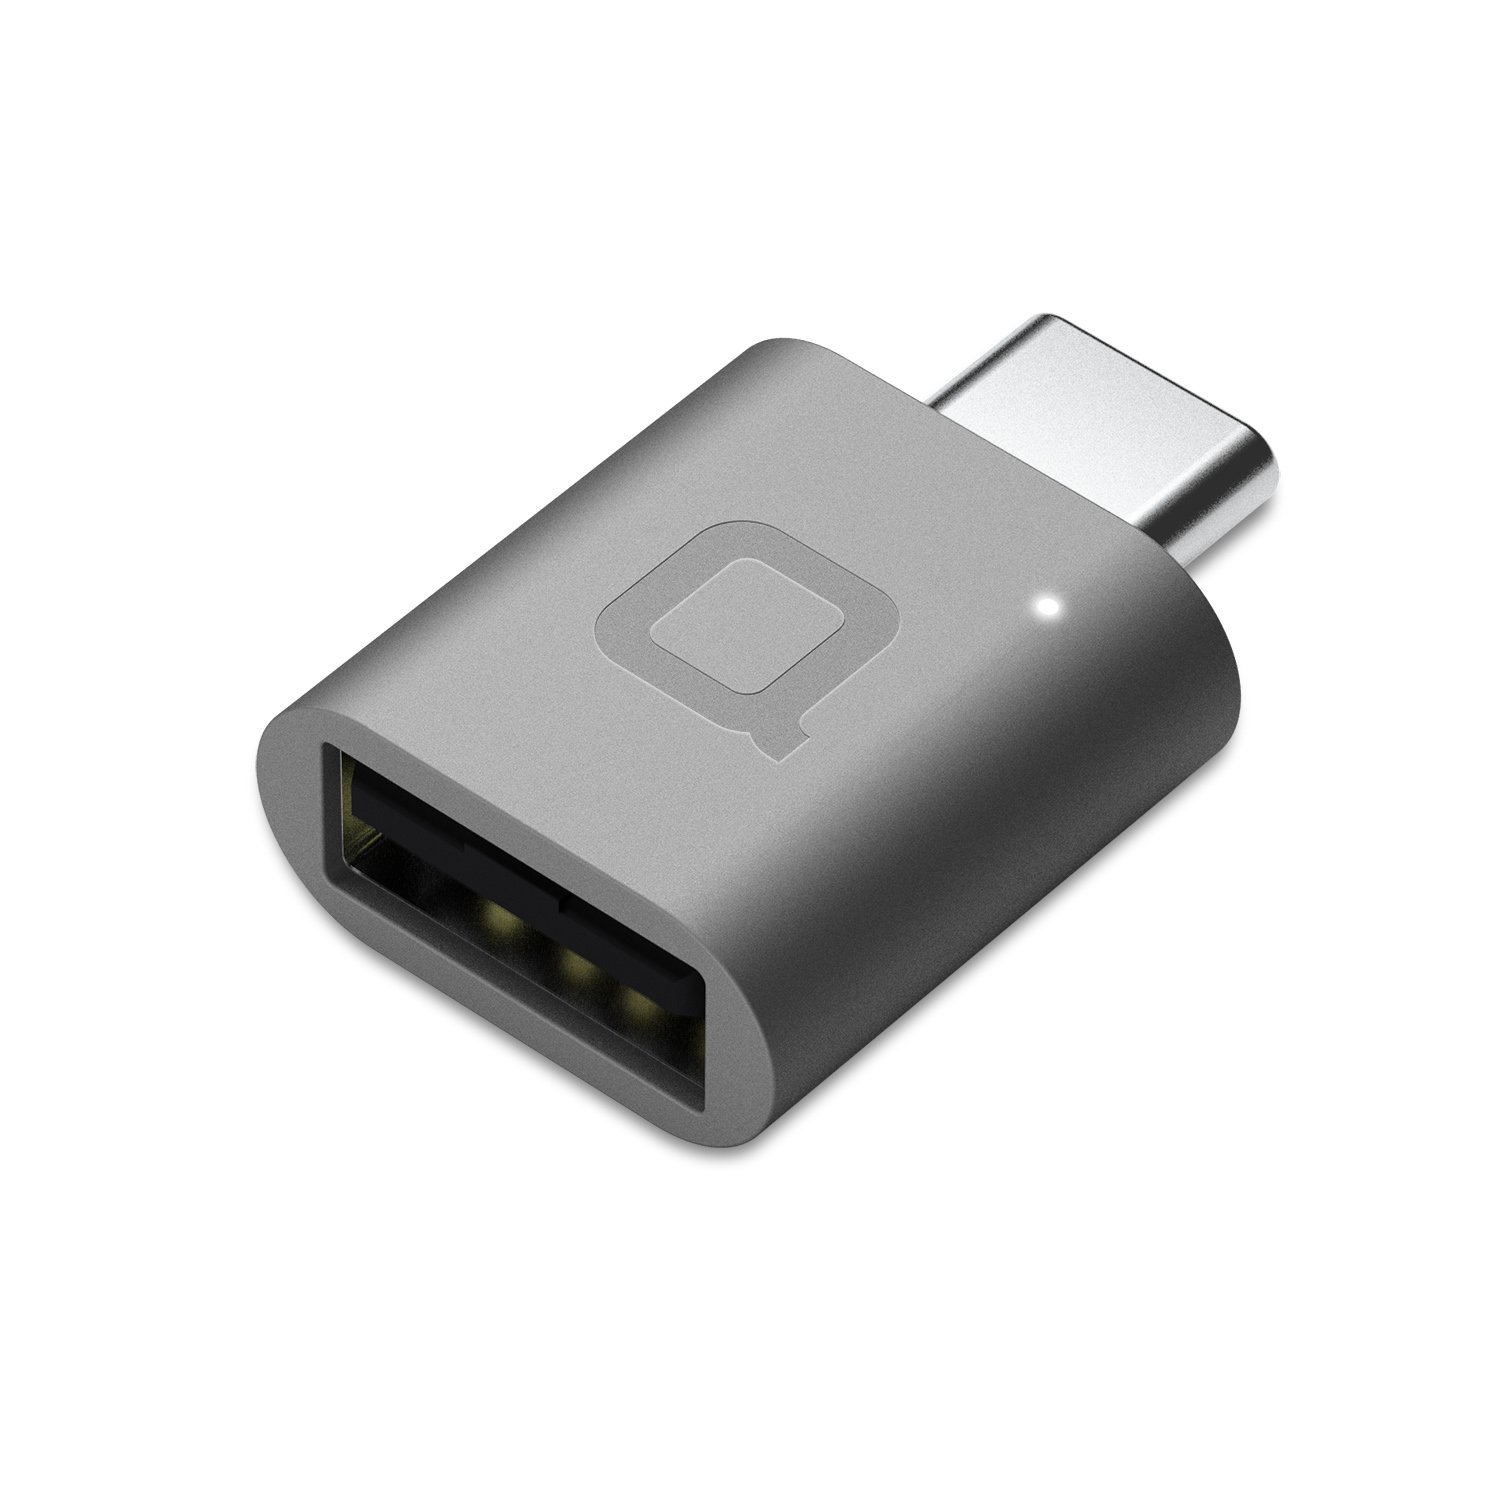
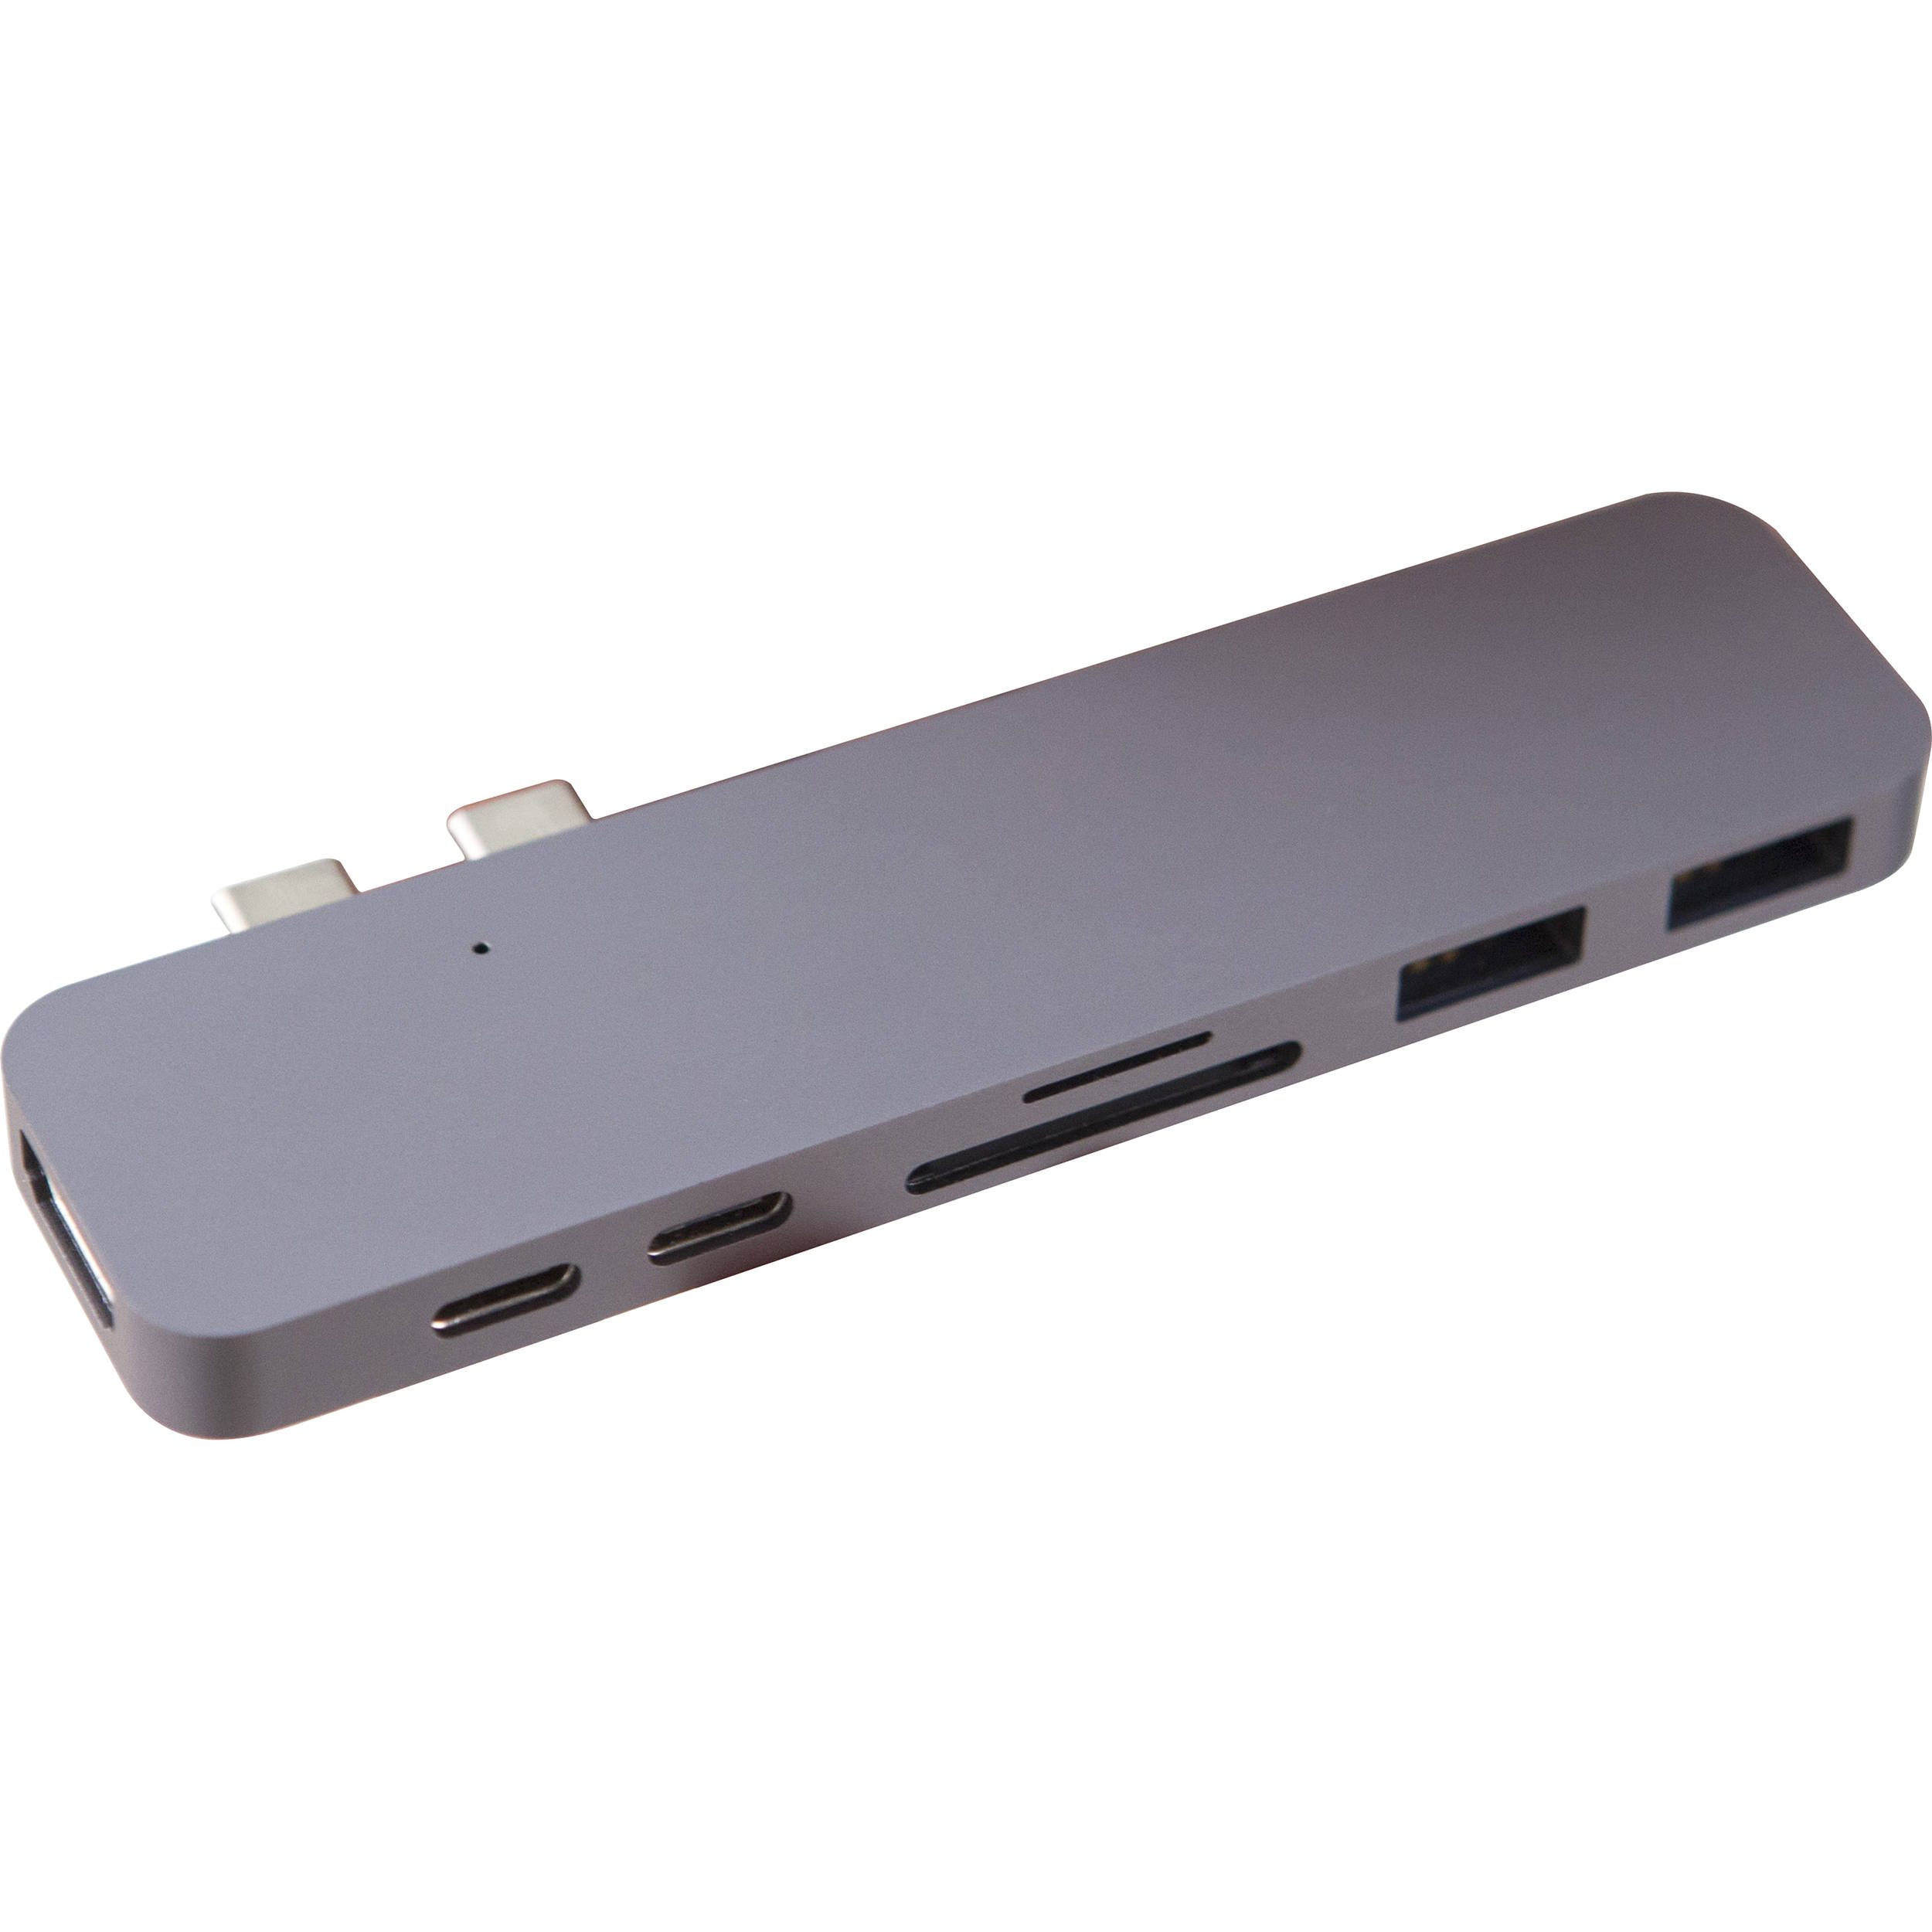
USB-A to USB-C and other dongles︎︎︎![]()
![]() If you have a newer Apple laptop, it may only have USB-C, make sure you can actually plug in your Circuit Playground. I suggest this one as it is quite cheap, but you may prefer something else.
If you have a newer Apple laptop, it may only have USB-C, make sure you can actually plug in your Circuit Playground. I suggest this one as it is quite cheap, but you may prefer something else.
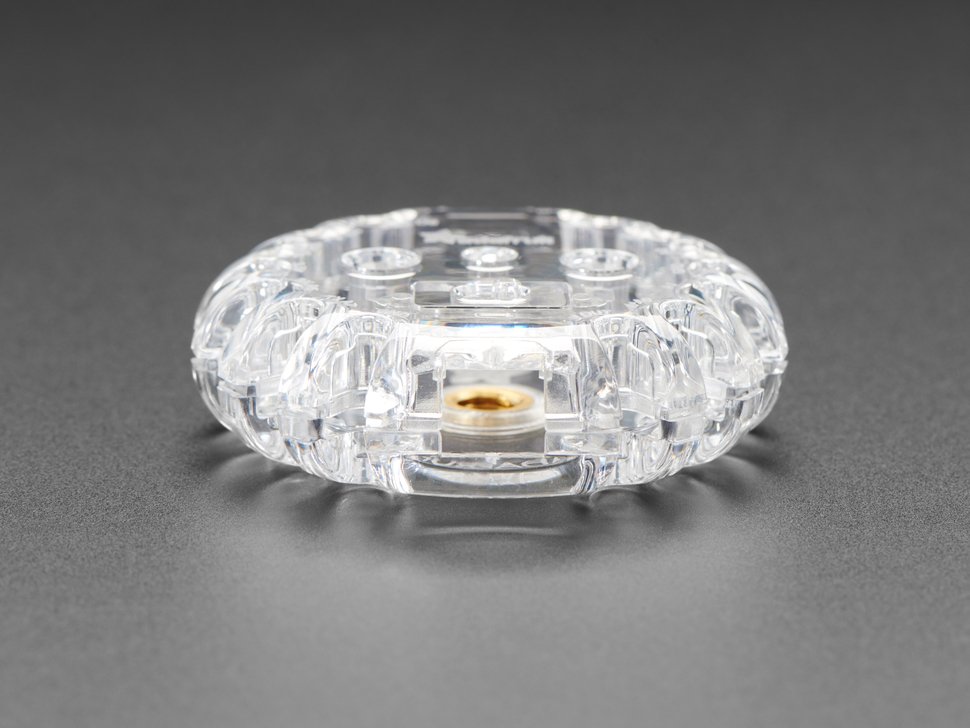
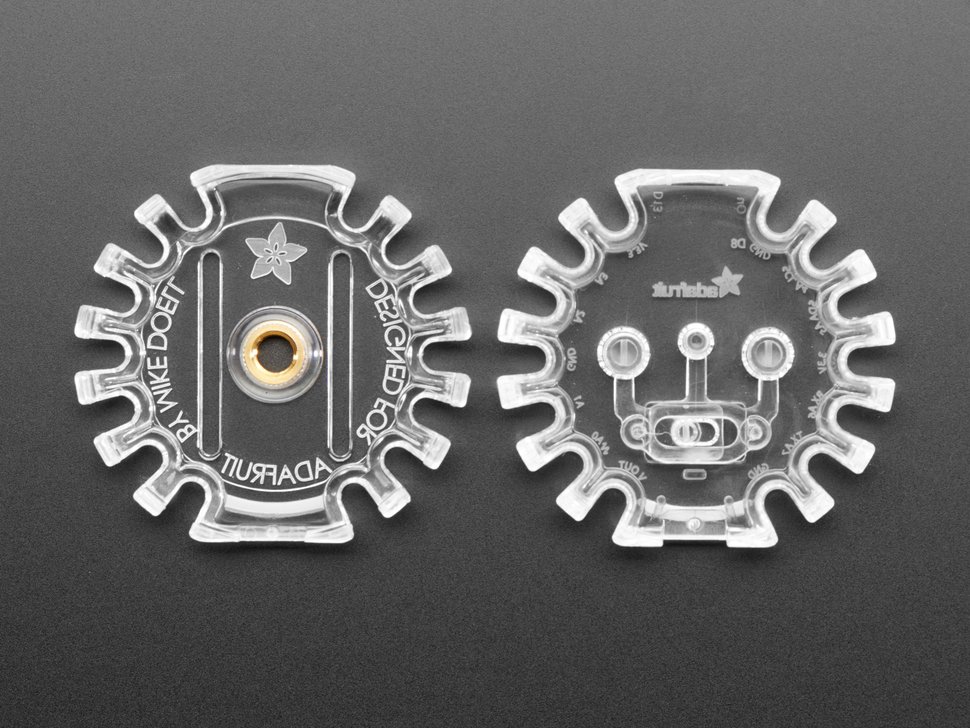
(nice to have) Acrylic Enclosure︎︎︎![]()
![]()
![]()
![]() These are not part of the kit but are super cute and have a mount you can use on the bottom to connect it to tripods.
These are not part of the kit but are super cute and have a mount you can use on the bottom to connect it to tripods.
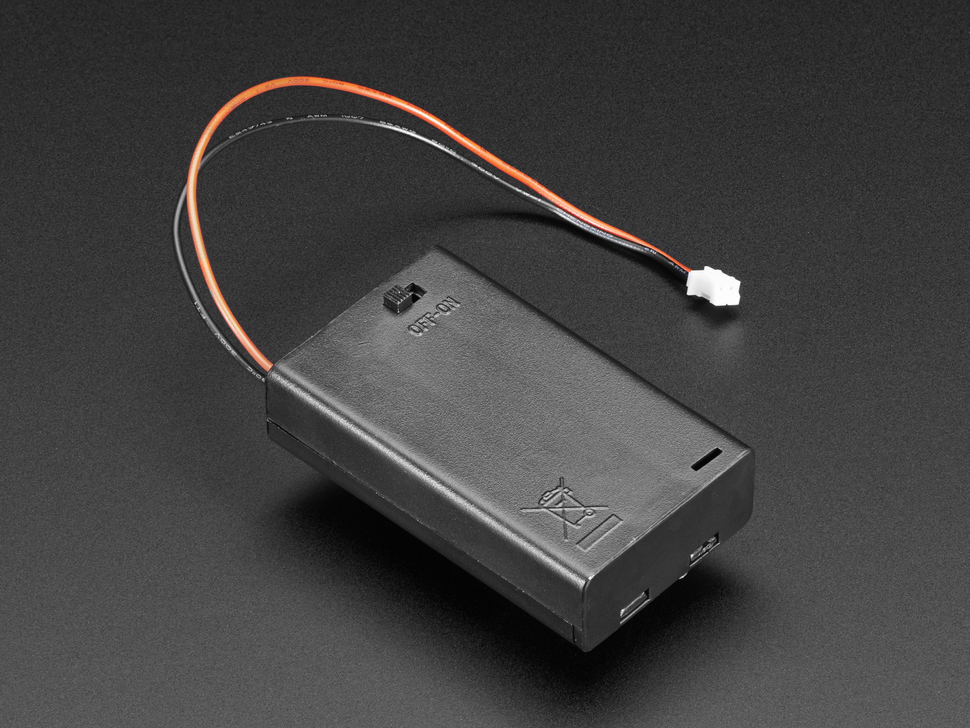
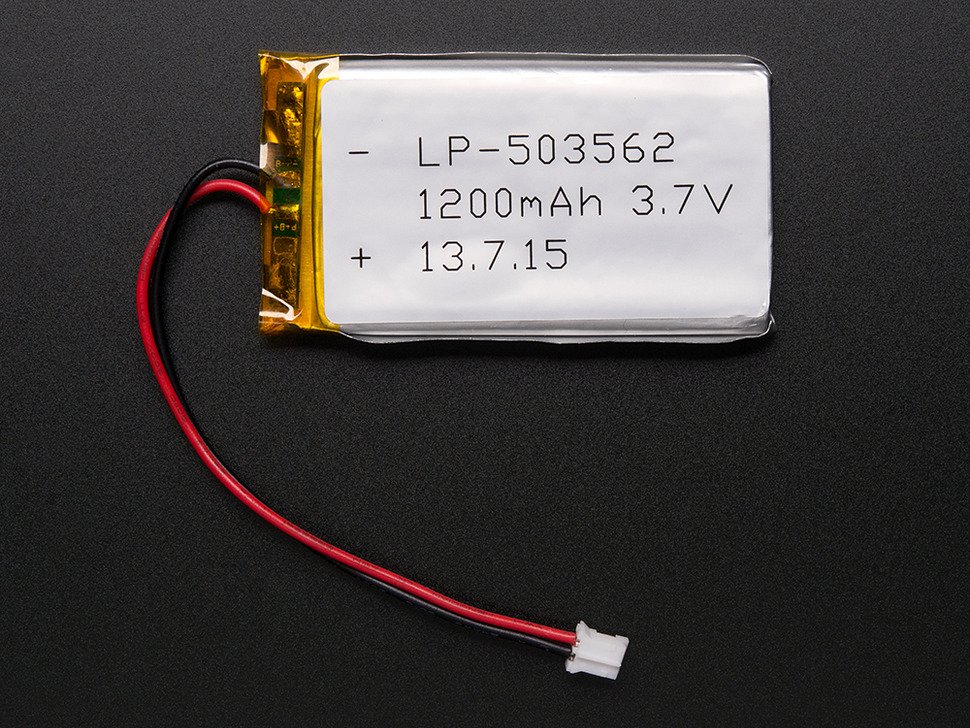
(possibly nice to have) Battery Packs︎︎︎![]()
![]() These do not come with the kit but you can get them if you want your project to be untethered from the computer.
These do not come with the kit but you can get them if you want your project to be untethered from the computer.
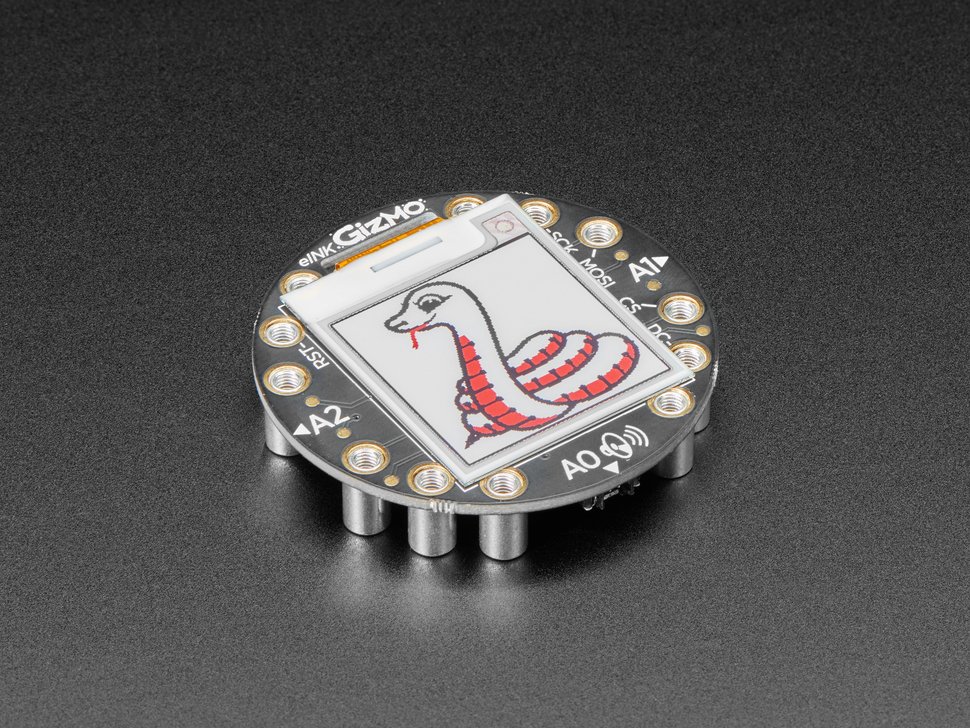
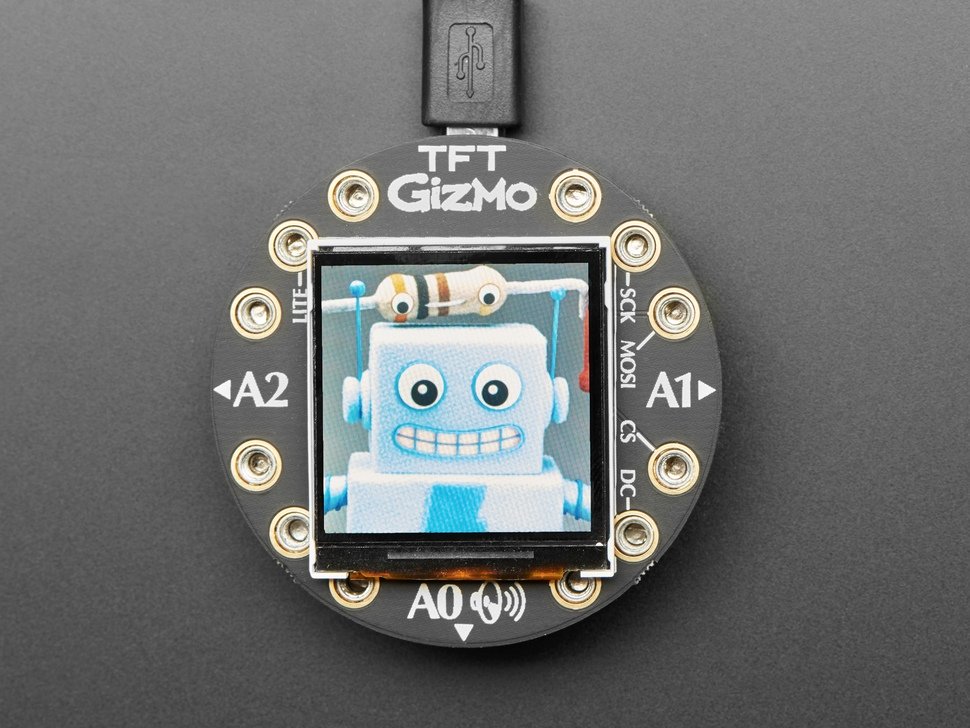
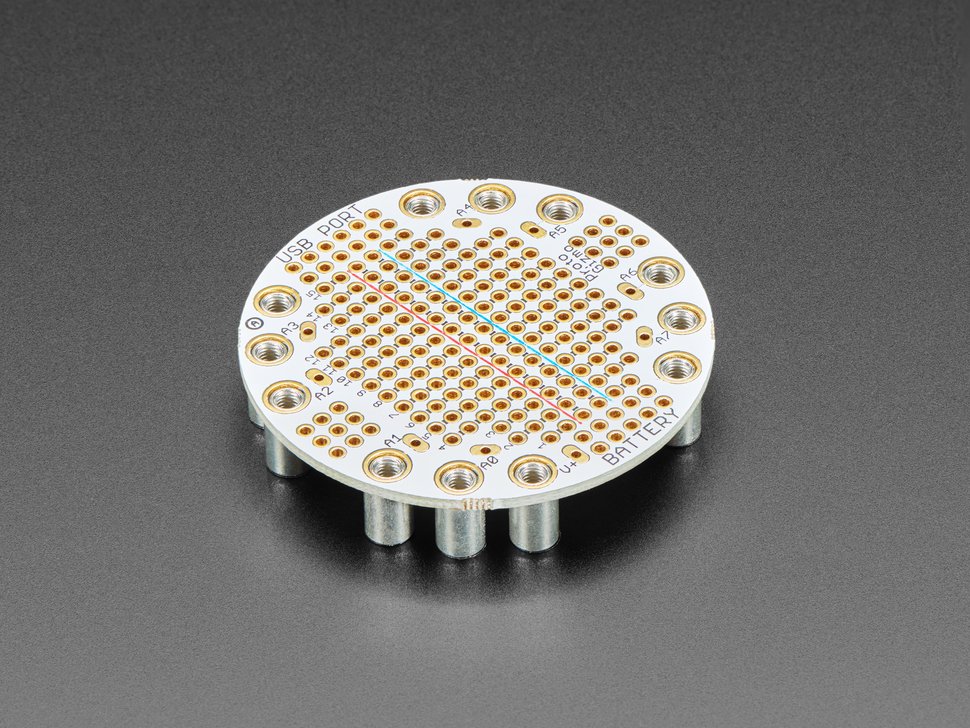
(if you’re super into it) Gizmos︎︎︎![]()
![]()
![]() These are accessories that connect by screwing on top of your CPX and allow it to connect to screens or motors.
These are accessories that connect by screwing on top of your CPX and allow it to connect to screens or motors.
You do not have to do any programming yet!
All you have to do is download the Mu programming software and what you’ll need to get up and running with the Circuit Playground Express. Also no problem if you get excited and look ahead.
‘Gator clips ︎︎︎
USB-A to USB-C and other dongles︎︎︎
(nice to have) Acrylic Enclosure︎︎︎

(possibly nice to have) Battery Packs︎︎︎
(if you’re super into it) Gizmos︎︎︎
You do not have to do any programming yet!
All you have to do is download the Mu programming software and what you’ll need to get up and running with the Circuit Playground Express. Also no problem if you get excited and look ahead.Directions
- Go to this website, download and install mu︎Install this for your respective operating system, this is basically a fancy text editor. This website provides a little more context that may be helpful if you’ve never used a code editor before (no need to understand this yet).
- Follow the instructions here carefully to get the Circuit Python Express up and running︎ You should be able to get to the point where you see the CPE as a drive called CIRCUITPY on your computer, and you can open and edit a file called “code.py”
- Edit the contents of code.py to be the code on this page︎
save the file, it should look like this:
![]()
- Create a short video and save it to the your folder for the class. You can upload a video from your phone or a link to a YouTube video, or TikTok video or whatever works for you.

If that didn’t work

If it did work

︎Back to Interactive & Experience Design
Fall 2023 ︎︎︎ SUNY Purchase ︎︎︎ (DES3090) Interactive & Experience Design
knitting Circle:
intro to programming, python, comments
![]()
Internal check-in
So first, check-in with yourself and see how you’re feeling. Are you nervous? Excited? Does doing anything that looks like algebra make you stressed out? Does the word “math” stress you out? Take a moment to see what’s happening and take note of how it changes. Whatever the case, the feeling is valid. Just take a sec to take a breath.What are we doing here?
All we’re doing is typing words. That’s it. If you’re getting frustrated, stressed, or see somebody else get something you do not, try to recenter yourself that you’re just typing words. You may just have to retype them (“refactor”), interrogate why they are not working (“debug”), or just make sure you’re updating the correct file.
Most of the words we’ll be typing are a programming language called Python. Specifically it is a version of Python called “CircuitPython” (check here for more about the CircuitPython project and devices that utilize it) which is designed with devices like the CPX in mind. The differences between Python and CircuitPython will probably not come up for us, but if we experience any, we’ll tackle them together.
A note for astute nerds
Note that you can program the CPX in different ways. One is with Circuit Python like we’re doing. Another is something called MakeCode that uses visual blocks and javascript, another is with Arduino which uses C++. You may see examples with these different options; if you want to talk about how to translate them or if they are doing something that you cannot do with CircuitPython happy to do that.My reasons for selecting Python
(if you care, nbd if you don’t)If you’ve taken New Directions in Virtual Space or Programming for Visual Artists in New Media you have experienced programming in C# or Javascript (note this is not the same as Java, for reasons that are quite dumb) respectively. Unity is a popular program and Javascript is totally a viable language worth learning but I like Python for several reasons that you may or may not be curious about.
- Python is good for beginning programmers. It doesn’t use semicolons to indicate the end of lines (which many people forget and then get frustrated about) and it forces you to indent your code in a way that will make it much easier to read. It also doesn’t use something called “datayping” which many people find confusing when they initially learn programming.
- Python is relevant in design. If you end up doing coding in Glyphs or Robofont, they both use Python. A good next step for making type-based animations is a program called Drawbot, which uses Python.
- Even if you don’t end up using Python, you’ll be set up for learning another language effectively. If you learn something more hardcore like C or C++, Javascript, expressions in AfterEffects (this or PHP, all of those are basically “kinda like Python but with a couple of different rules” so you’ll be in a good place to learn those.
Comments (and why they are important)
Code (Python, assembly, C, whatever) is for machines. A programming language may be made to be easier to read or contain elements that sound like human speech, but they are not in fact human speech. In order to facilitate this process for human beings, there are something called comments. You can use them to describe what your entire code is doing, what a given group of lines is doing or to visually separate elements. Below is the basic red blinky LED example you uploaded to your CPX last week to make sure it works with comments added.︎︎︎Where to look things up
Some of the things we’ll be coding are specific to the CPX. For example the code the parts that read “cp.button_a” as you can imagine, were made to specifically work with the CPX. If you’re looking for how to do things in Python, look on websites like w3schools. This is the documentation for the “API” (Application Programming Interface) or code specific to the Circuit Python Express.
While that reference is exhaustive, I would recommend looking through examples I linked in the intial part and then looking for the relevant example (the files should be carefully labelled for playing back soundfiles, playing tones, using the IR sensors, accelerometer, etc.)
Be sure to also look at examples and tutorials on the learning side of adafruit’s website. There are also fun guides for projects people have made. Please be mindful that there are other types of Circuit Playgrounds with slightly different specs, as well as other ways to program the Circuit Playground (arduino, makeCode, etc.) keep that in mind when viewing the examples of other folks. That is not any indication you shouldn’t try these methods out and feel free to ask about anything else you’d like to know more about.