SUNY Purchase ︎ (DES3440) Typographic Investigations
Drawin’ in Glyphs
Overview
We’ll be looking at Glyphs Mini in this Knitting Circle. We’ll be focusing on the drawing component of it as well as just getting used to the interface.Basically, if this is scary, or just arcane to you (understandable), Glyphs, or any software designed to create and edit fonts (Robofont, Fontlab, Fontographer) is basically Adobe Illustrator except it is designed to export a different type of file.
Font Window
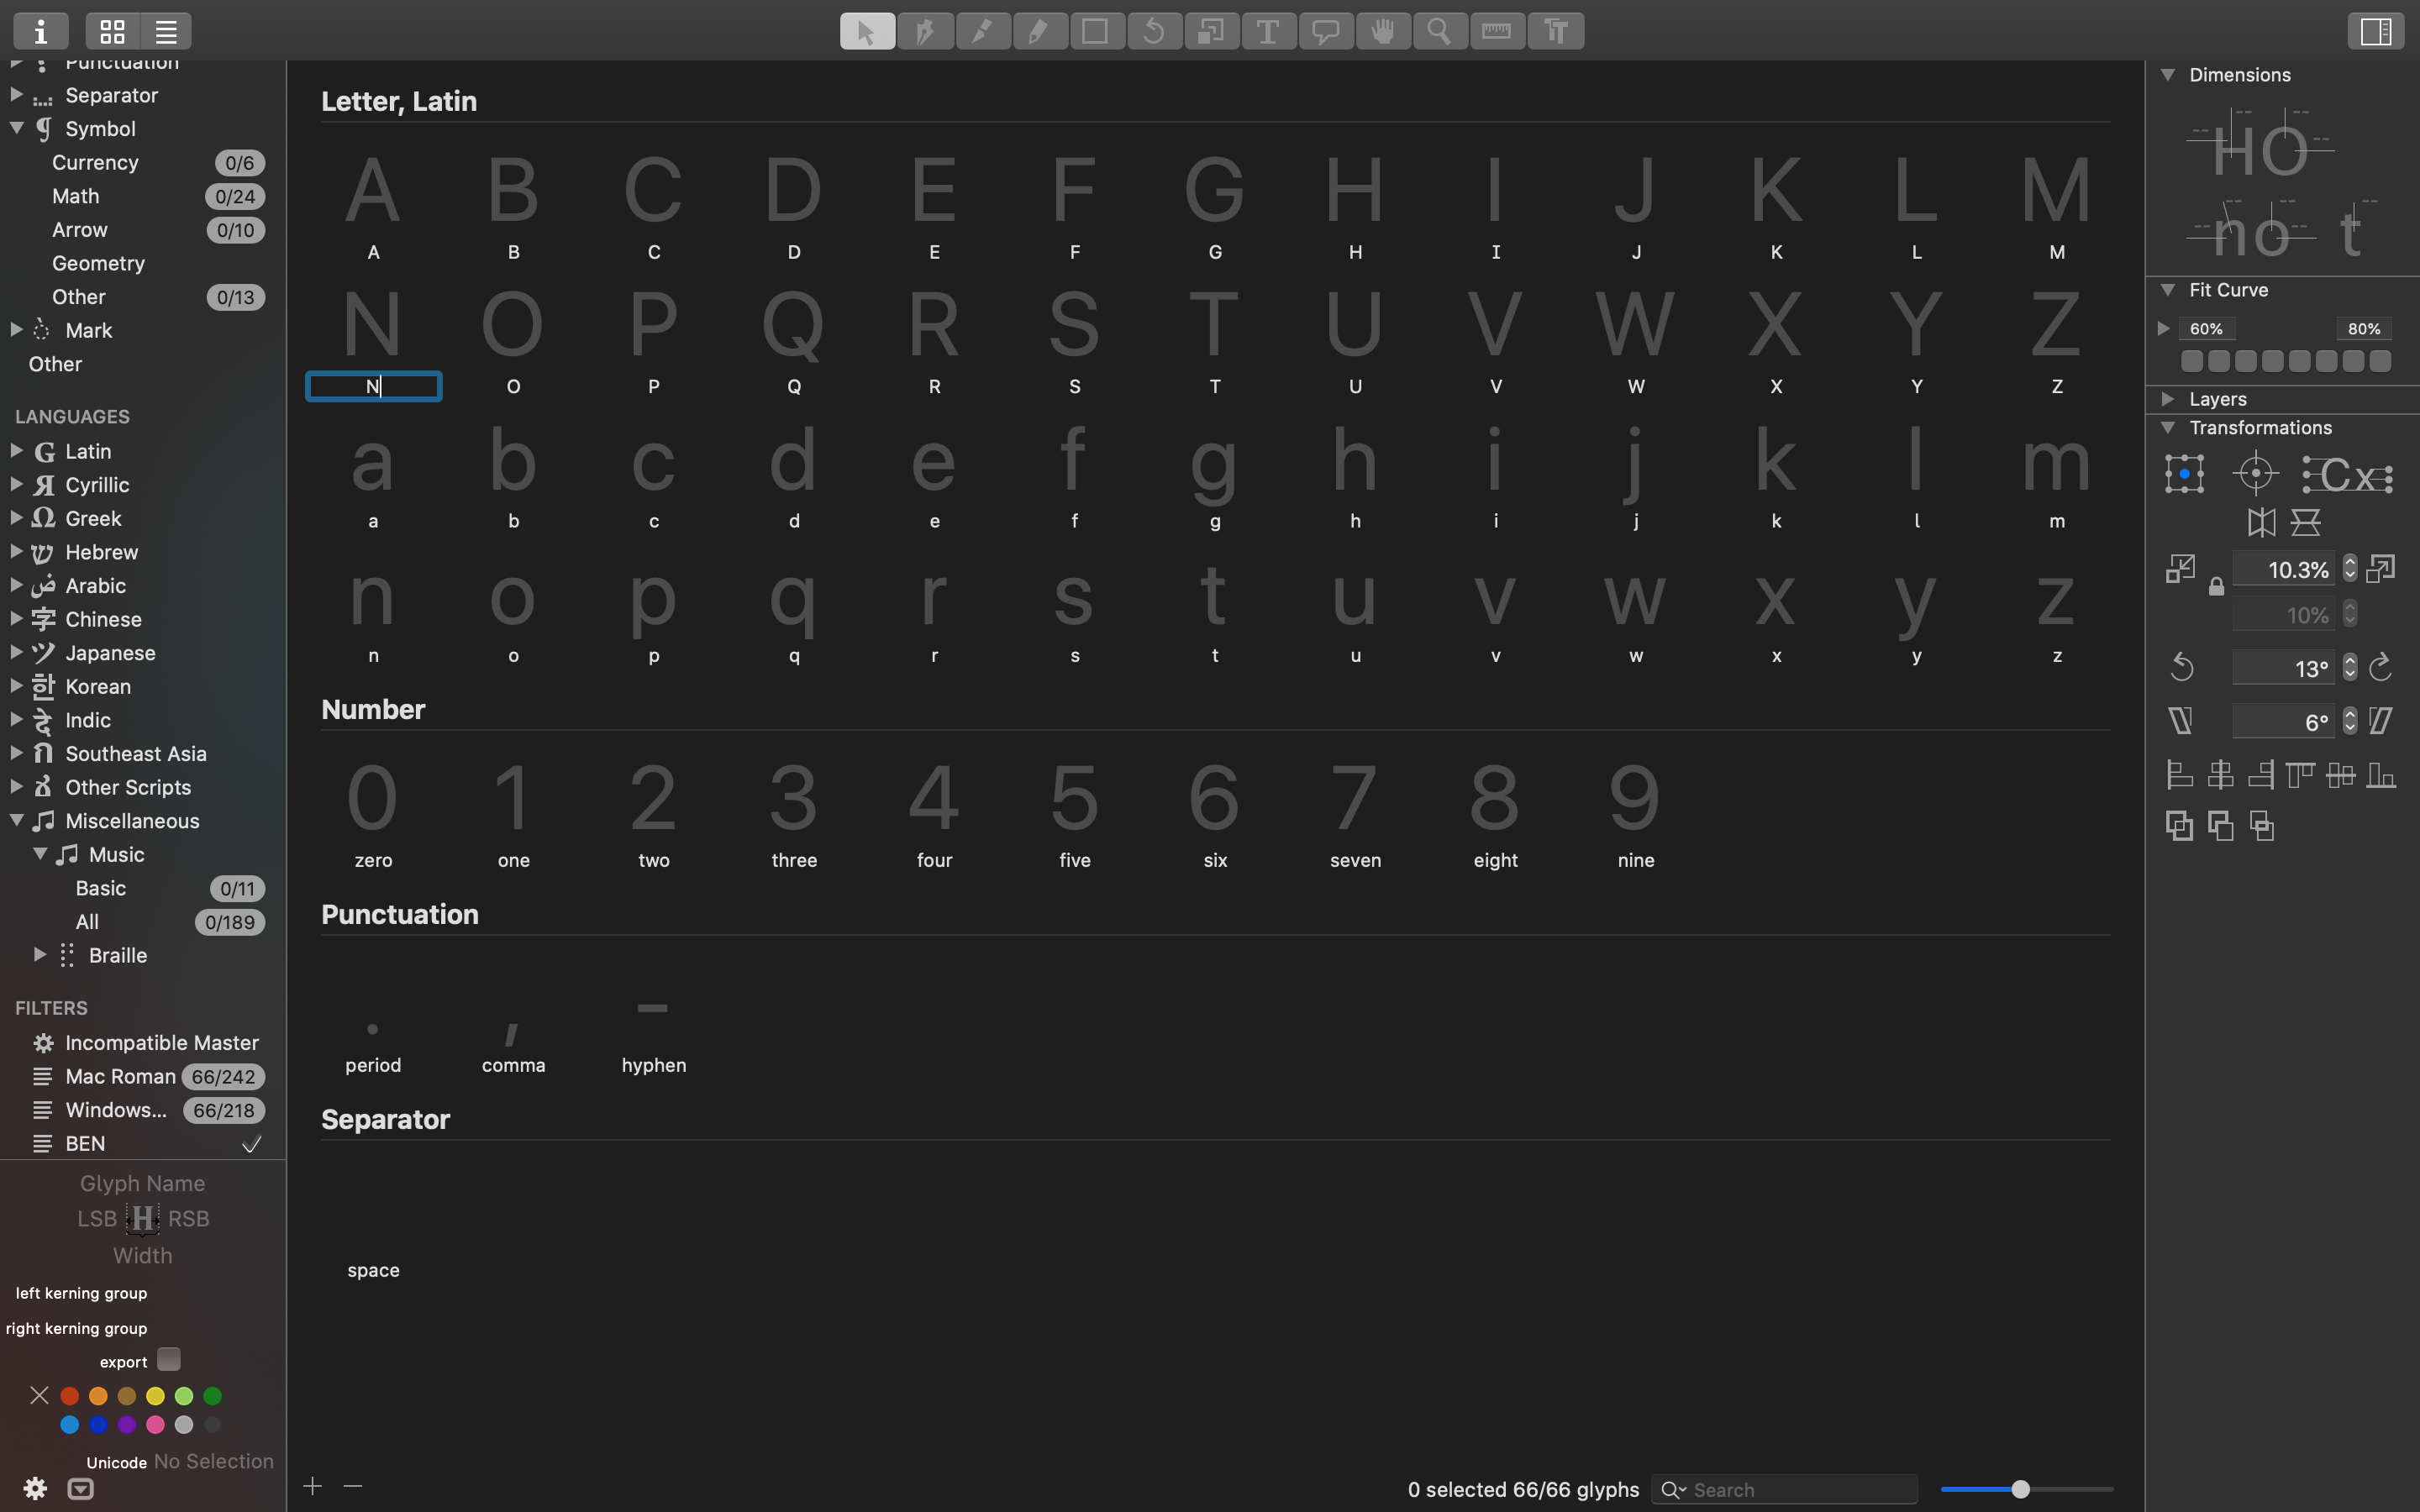
This is your font, all the characters are here. You can view by different categories, or your own filters that you create. There is a faint outline of the character if nothing has been drawn yet. If you double click a letter you can edit an individual glyph.
The tools![]()
This is the “Illustratory” part. These tools are similar to the ones you already know from Illustrator. In order:
- Arrow (V)︎ select points, change points.
- Pen (P) ︎Use this to create bezier curves.
- Knife/Erase tool ︎The knife tool will “slice” a shape into smaller ones when you drag over it. The Erase tool behaves like the subtractive pen tool in Illustrator. You click on it to remove points.
- Pencil(B)︎ Use this to drag and create “freeform” shapes.
- Primitives (F) ︎This creates rectangles and circles.
- Rotate(R)︎ Click to set the anchor point, and then drag to rotate. (hold shift to constrain rotation)
- Scale(S)︎Click to set the anchor point and drag to scale. If you drag in one dimension it will attempt to only adjust that dimension. Holding shift will scale proportionally.
- Text(T)︎ This allows you to write or insert a message to look at specific characters together. Just type on your keyboards and new letters will appear. Clicking into a given character will allow you to edit it.
- Annotation(A)︎This allows you add notes to given characters, you can draw little arrows, or add actual words.
- Hand(H)︎Drag to move the view area around. When you press spacebar you can also access the hand tool.
- Zoom(Z)︎Click to zoom in, ︎+ Click to zoom out, you can also pinch to zoom in and out if you have a trackpad, Additionally ︎+ 0 will fit the given content to the screen.
- Measurement(L)︎You’ll see a cloud of measurements (you might have to zoom in to see them clearly). You can also click and drag across your drawing, and you’ll see the width or height of where the ruler intersects.
Spacebar
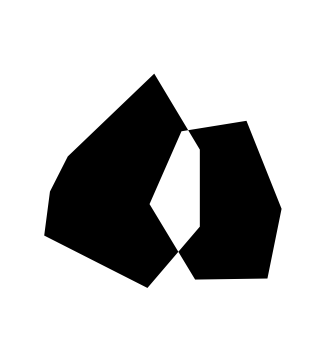
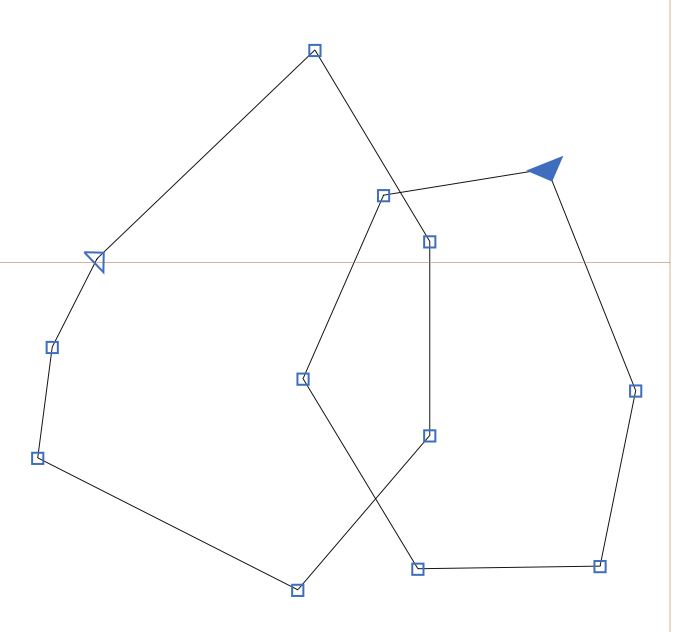
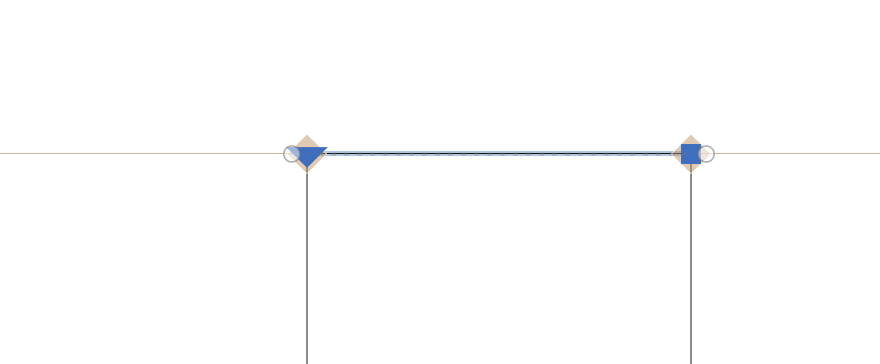
Switches from showing the curves to showing the actual filled shapes. Just to be clear, you’re drawing filled shapes, not setting strokes and fills, colors, etc, like you do in Illustrator, you would apply those in a program like Illustrator or Photoshop once the font exists. Path Direction
When you edit a path you can see a larger arrow showing its “direction” (this is based on the order the points are constructed). If you want to change the path direction for a given path, CTRL + Click and select reverse path direction. Opposing path directions will appear to knock each other out, and matching path directions will form a larger uniform shape, this will be needed for the counter of an o for example.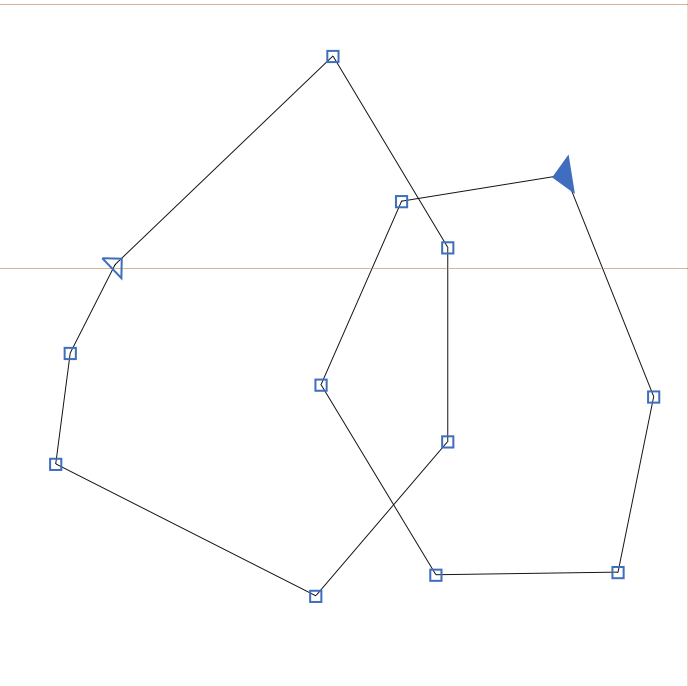
Drawin’ glyphs...in Glyphs
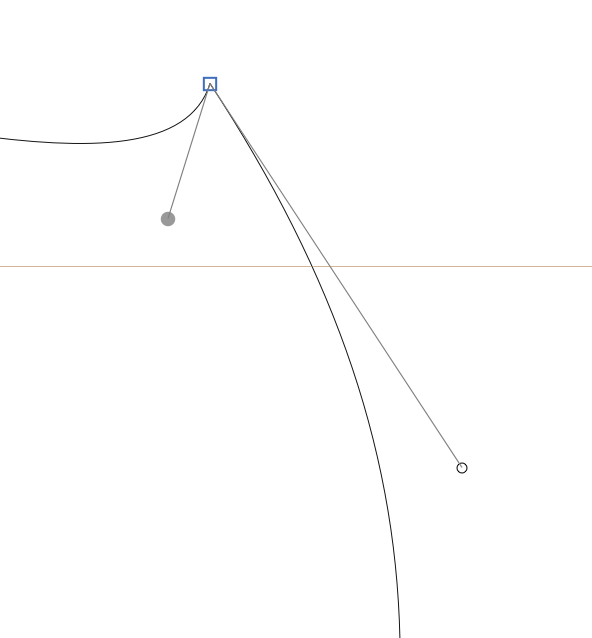
When you use the Pen tool, you create points with by clicking. Click and drag to create a curve, hold down shift to constrain the curve, space to move a handle while drawing a curve, and option to create corners.If you’re moving or dragging a point or points, you’ll see an additional diamond when it hits a guide or metric component (x-height, for example) of a font/glyph.
Option clicking on a line segment will add handles for either end point.
A corner point (blue and rectangular) can be created by double clicking a point or selecting it and pressing enter. This will effect how handles behave. Handles attached to a curved point will rotate together, whereas those at a corner point will move independently.

Here’s a recap of this drawing stuff.
Adjusting the x-height, etc.
Guides
Control + Click and then select “add Guide” to...add a guide. Double Click the point to change the axis of the guide. Click and drag the point to move the guide. You can additionally lock it if you want (Control + Click and select “Lock Guide”)Adding Individual Glyphs
This is relevant specifically to our Unicode Spelunking project. You can add common symbols, from your Font Panel by selecting the block of characters you want to add, Control + Click and the select the characters in the panel that subsequently pops up.
If you click the plus sign at the bottom of the font panel, you’ll add a new glyph. If you have the unicode value handy, you can add it in next to where it says “Unicode” you should get a faint guide f

Possible activities to apply these initial skills
- Keep going, there are more video tutorials if that helps you, or you want to get ahead (spacing, diacritics, etc). Additional the full Glyphs handbook and more resources are there too.
- Keep going, add components (re-usable shapes) or corner components to your font.
- Work on the Unicode block you want to focus on for the spelunking project.
- Find a handwriting sample from the internet and import them into glyphs (you have to save individual letters as images, and then go to Glyph︎Add Image)
︎Back to Typographic Investigations