CUNY Queens ︎(ARTS241) Design 1
knitting circle: Lettering
You may be totally bored with the system typefaces you have, you may not have a lot of cash to buy a specific typeface. Maybe you just want to create something that is custom to you. Here’s some options for how to do that.
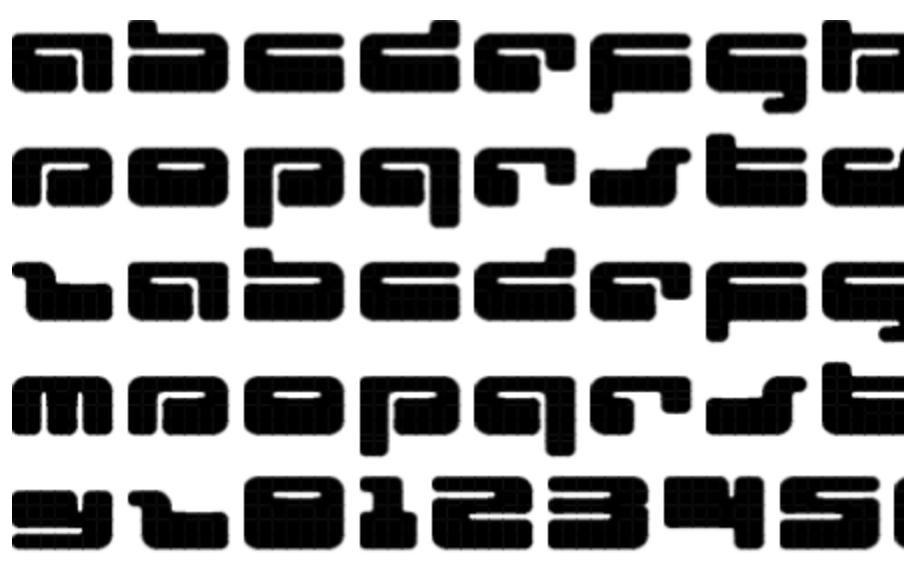
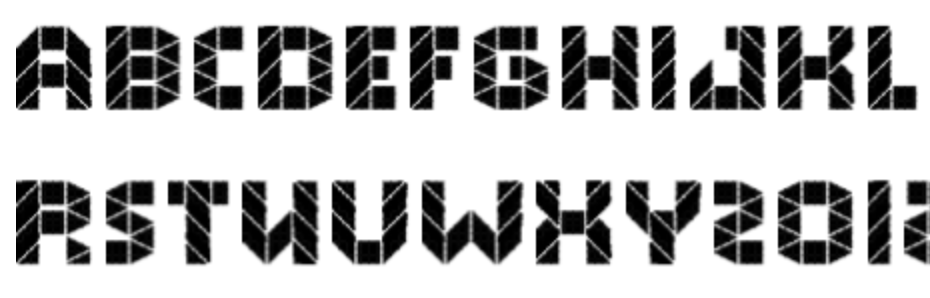
Using Fontstruct
Fontstruct is a tool for creating modular typefaces. It exports a “real” .ttf file. If you want to edit it in Glyphs, you can do that. We can go over this more if you guys would like, but it should be relatively self-explanatory. Reference the docs for extra efficiency.


Drawing to Illustrator
Tools to create typefaces like Glyphs and Robofont are basically Illustrator, except they export a very specific type of file. You can start creating your own custom lettering in Illustrator.-
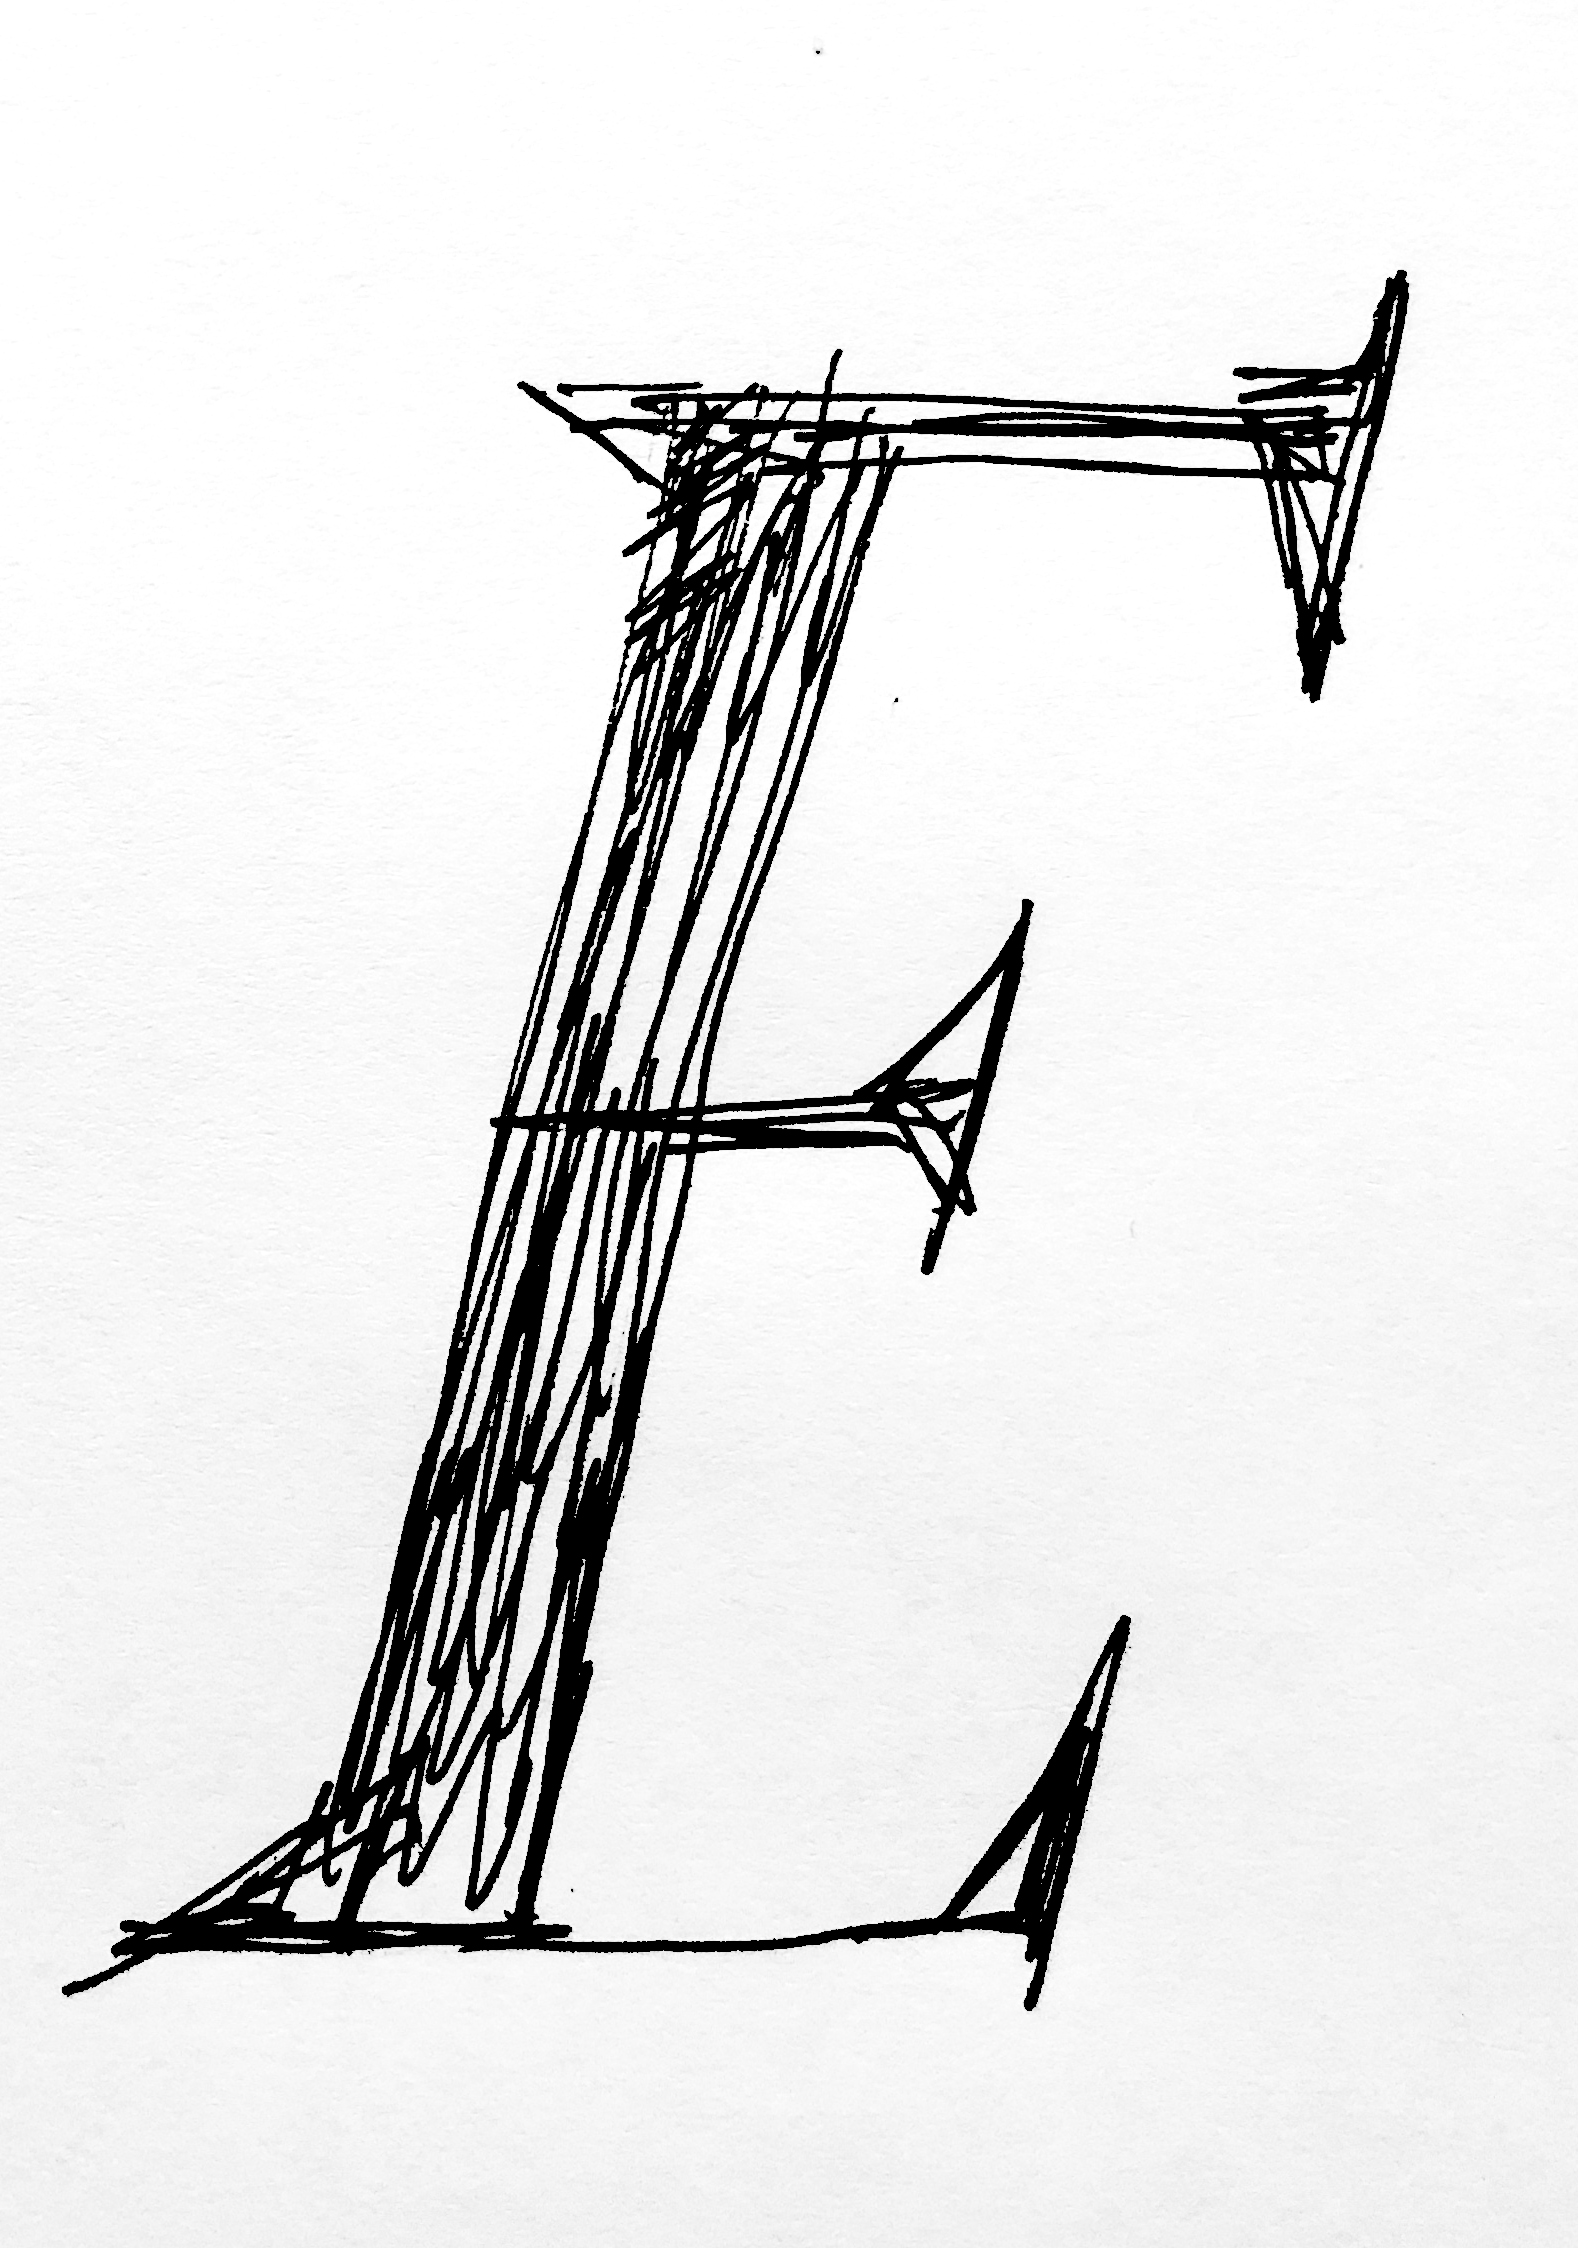
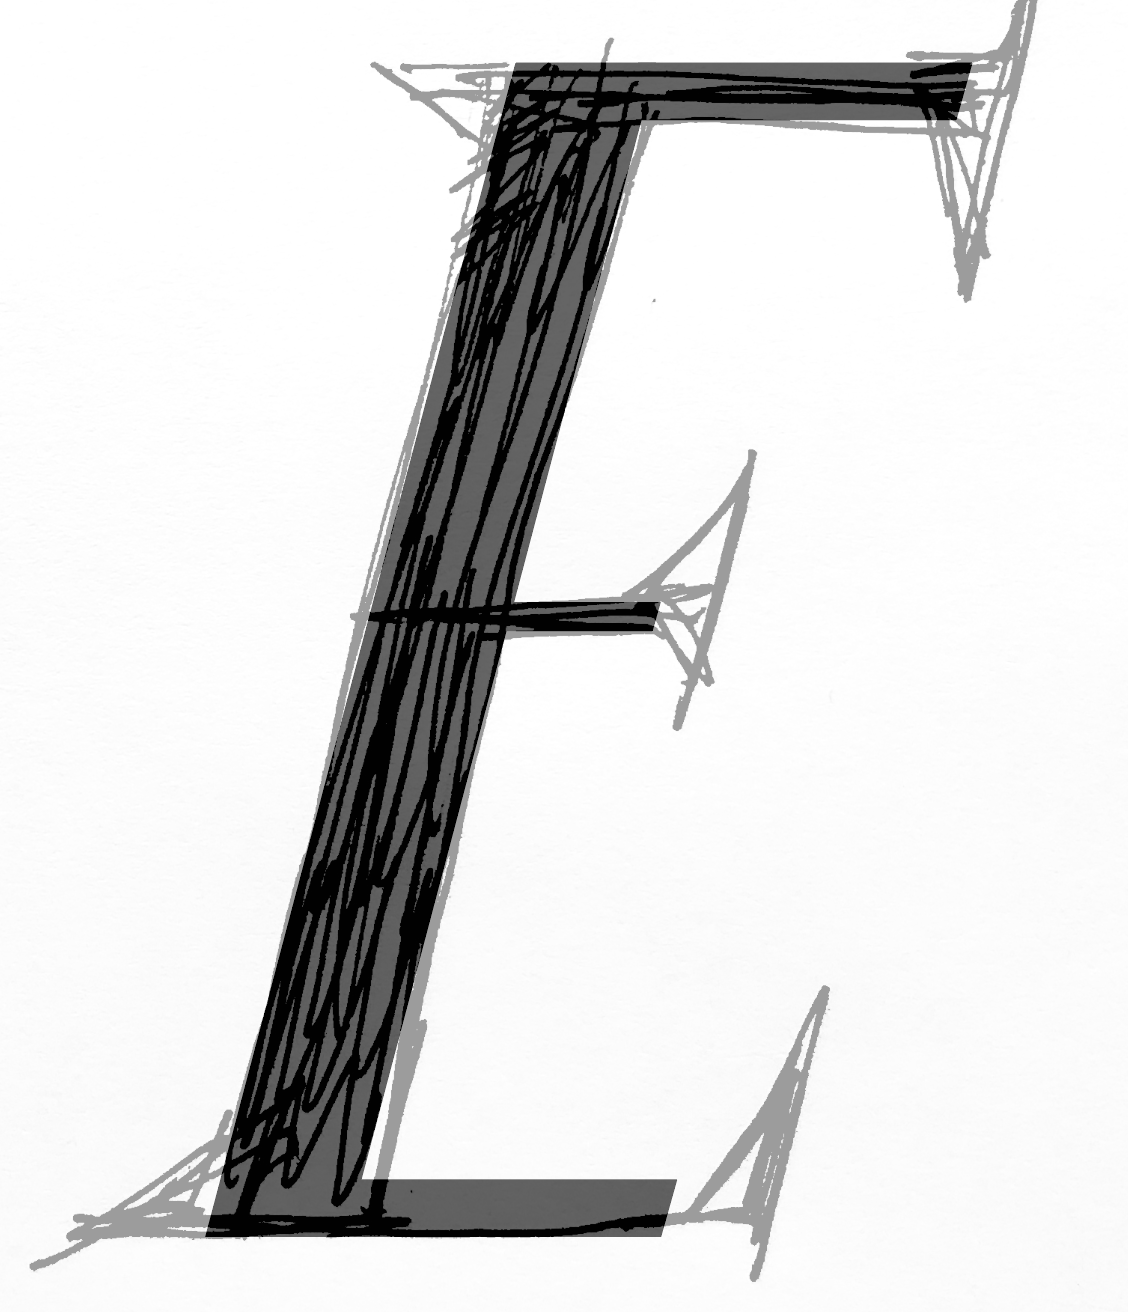
This is a drawing of a serif capital E
![]()
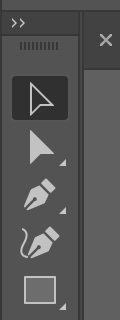
- Scan it or photograph it and bring it into Illustrator. Place it on the topmost layer, make it somewhat transparent, and then lock the layer.
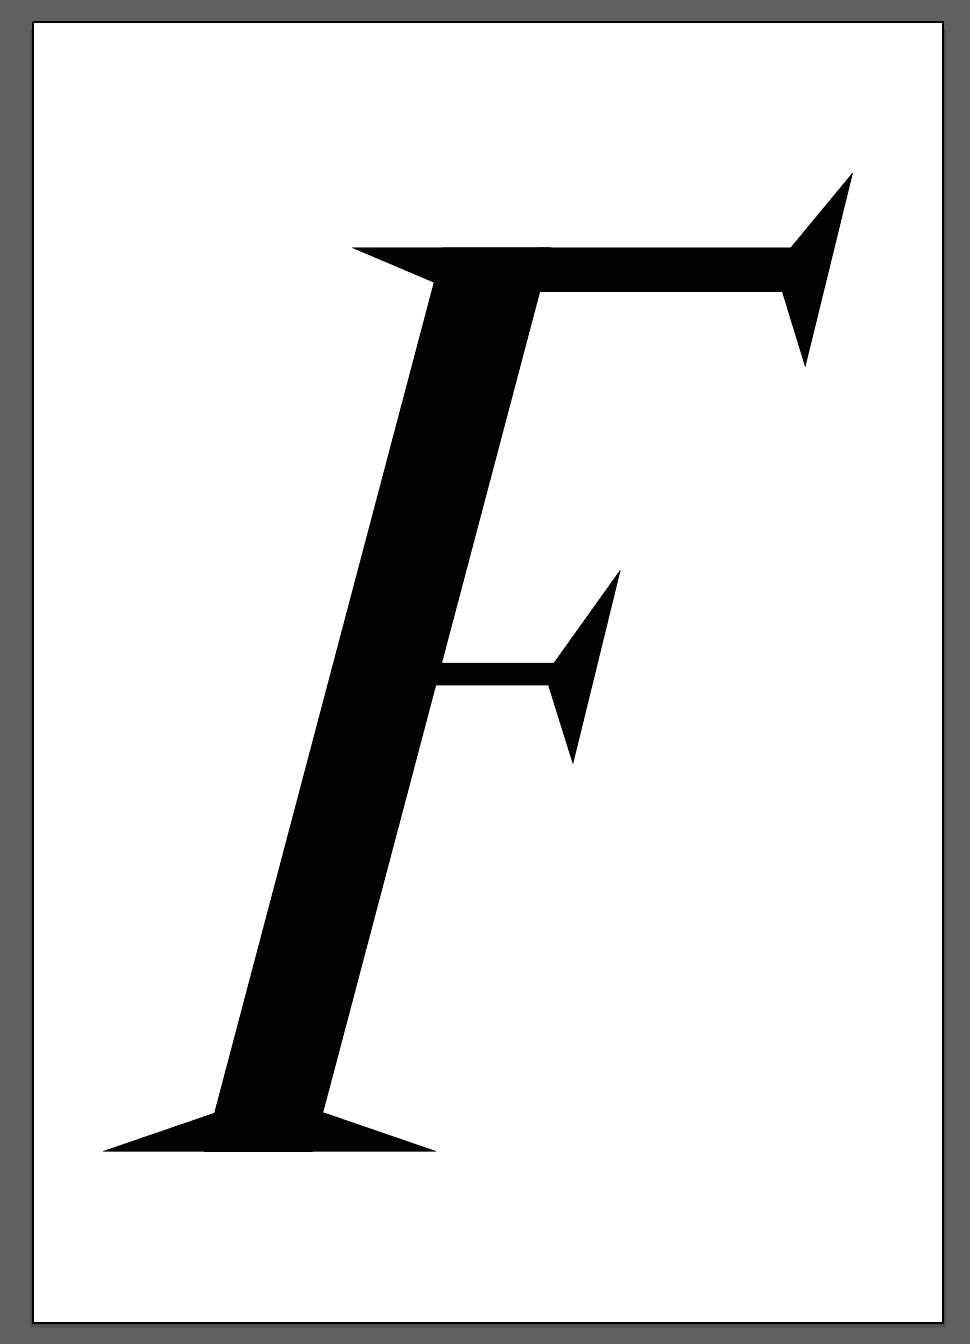
- We’re create the vertical bar.
- Now the horizontals. We’ll copy the vertical bar so that we get the same slant.
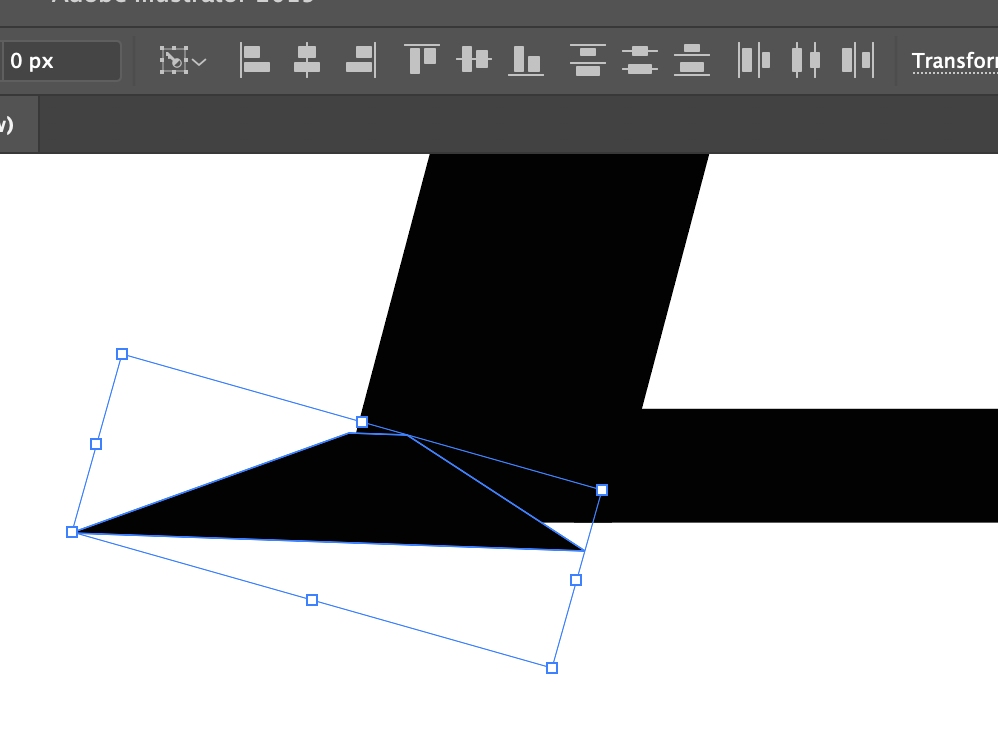
- Next we’ll create one of the serifs and use that as the basis for the other ones. Then we’ll use the align tool to help clean up.
- We can use this as the basis for other letters, and continue to create the message we want.


Bubble Letters
Here’s another thing you can do in Illustrator. The basic principle here is to show you one way that you can the pathfinder tool; that is, taking circles, and using them to create more complex shapes.-
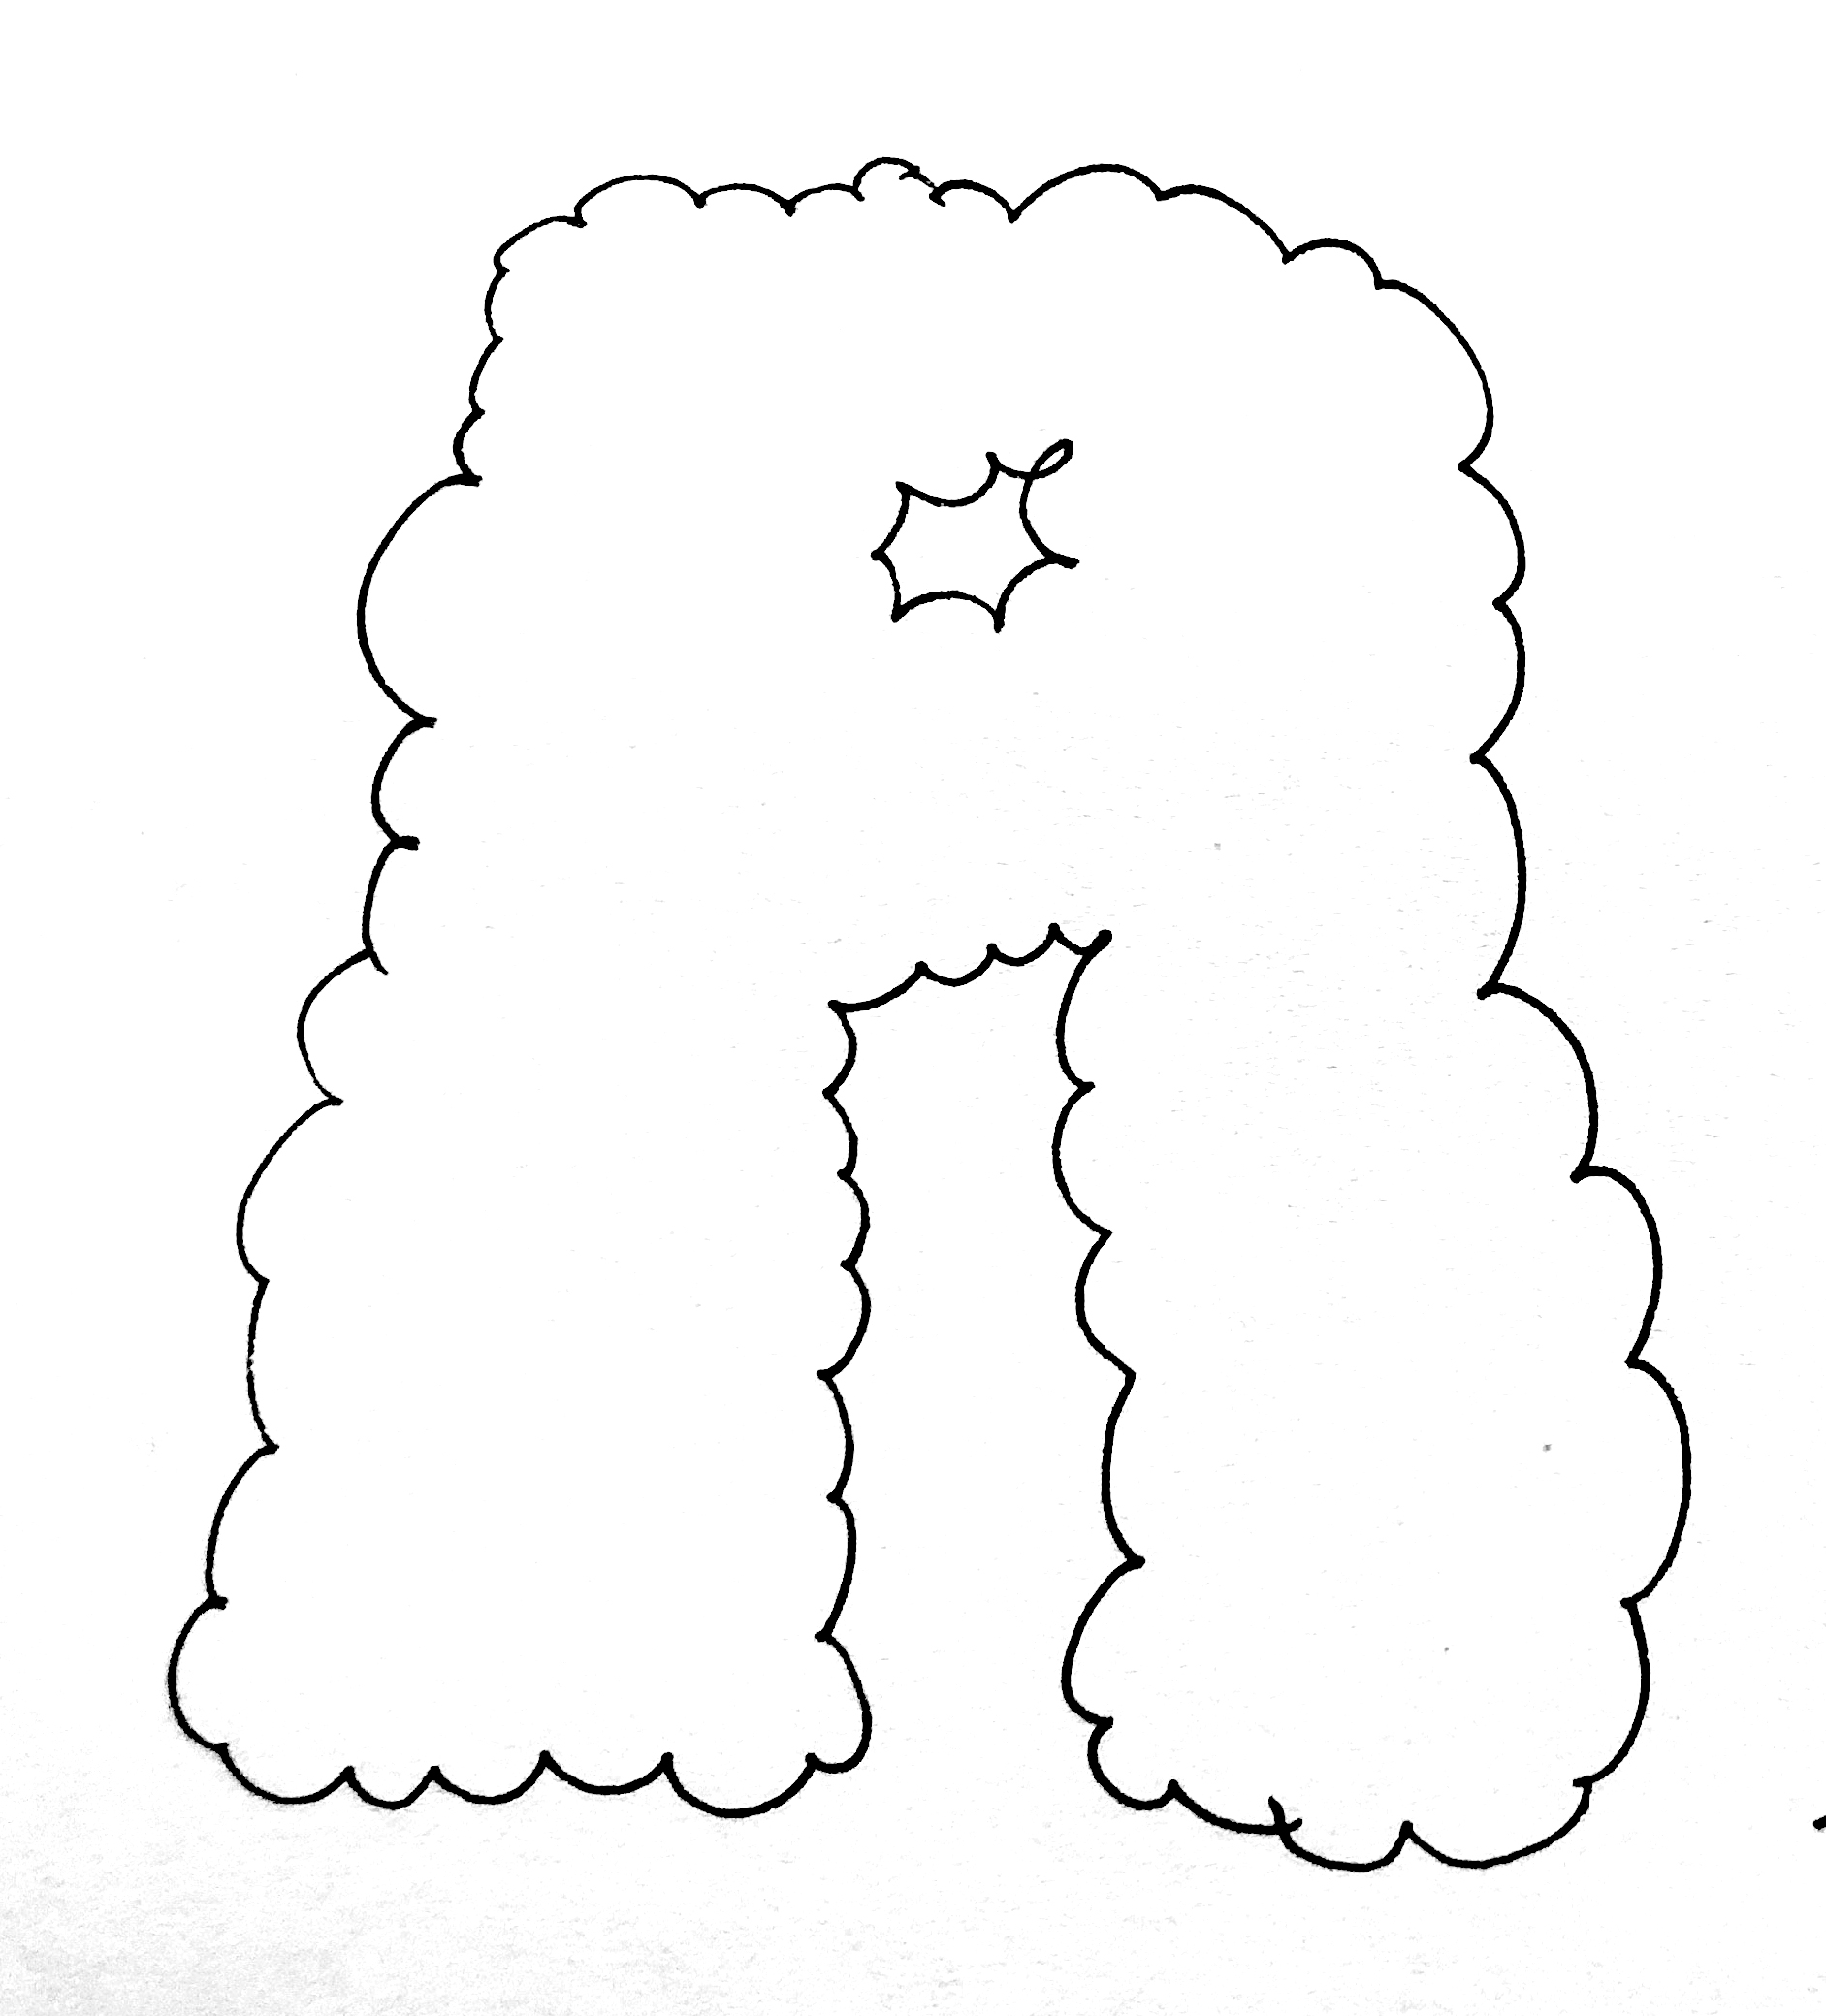
Start by drawing some text that looks “cloudy.”
![]()
-
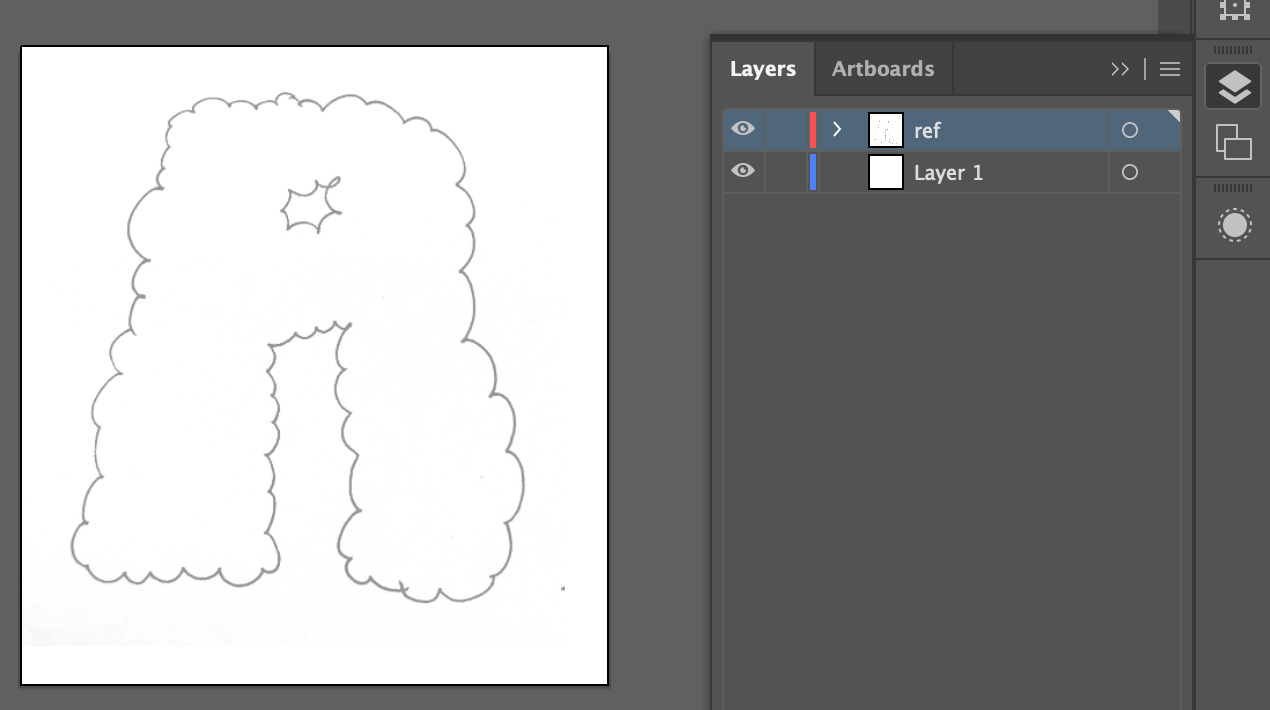
Scan it or photograph it (you’ll probably need to clean it up in Photoshop) and bring it into Illustrator. Place it on the topmost layer, make it somewhat transparent, and then lock the layer (the box right next to the eye here)
![]()
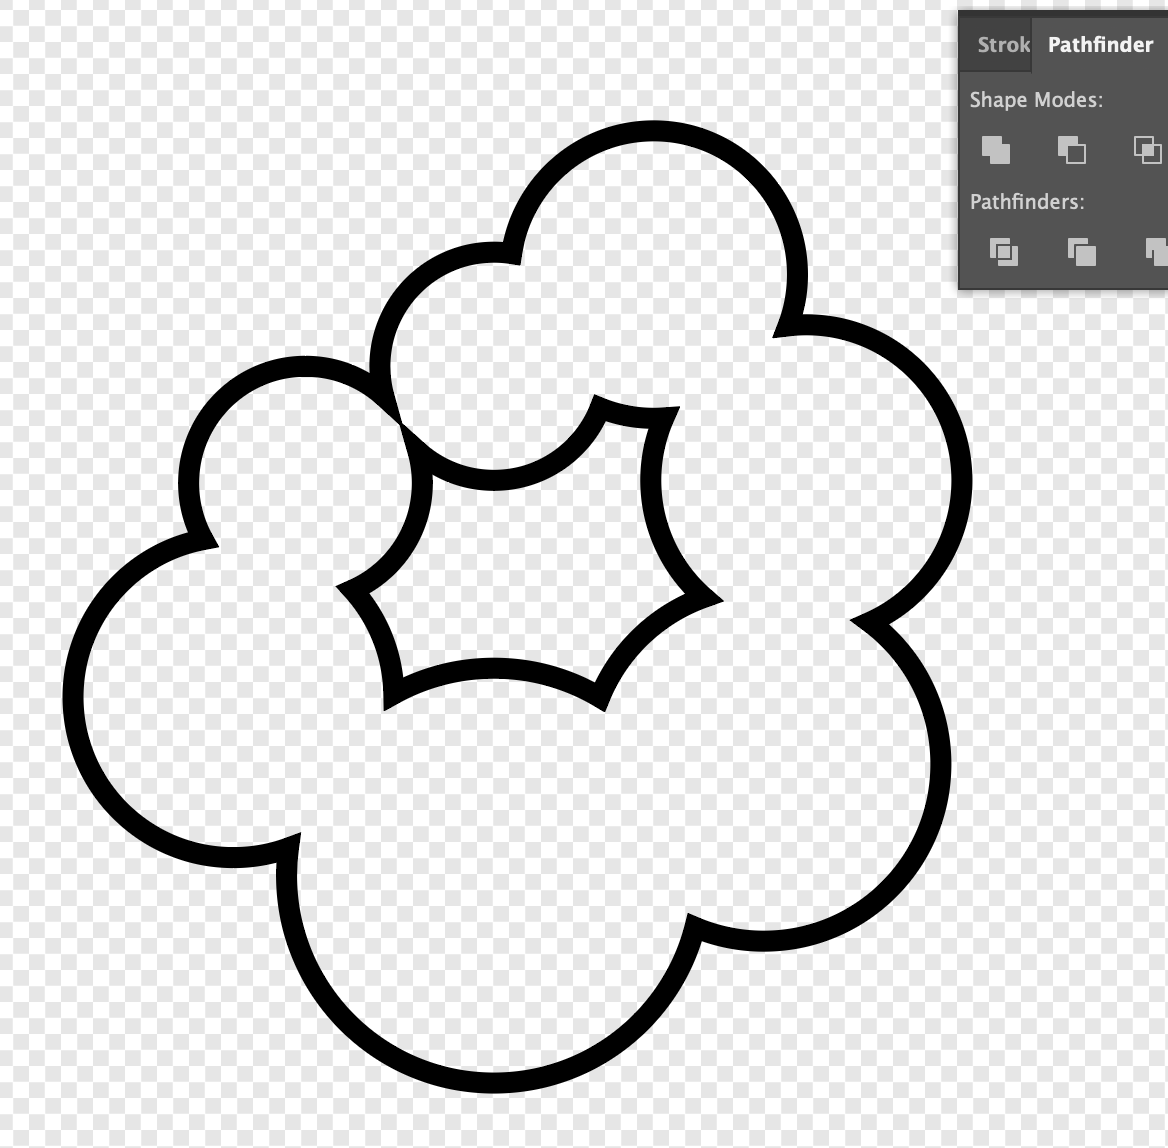
- Now trace the edges of the cloud shapes using circles (the L key).
![]()
![]()
![]()
- Use the pen (P ) tool to fill in any blank space.
![]()
- Copy your letter when you’re done, just in case.
![]()
- Separate the inner and outer shapes into 2 layers
![]()
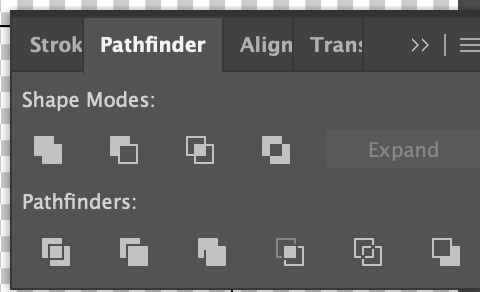
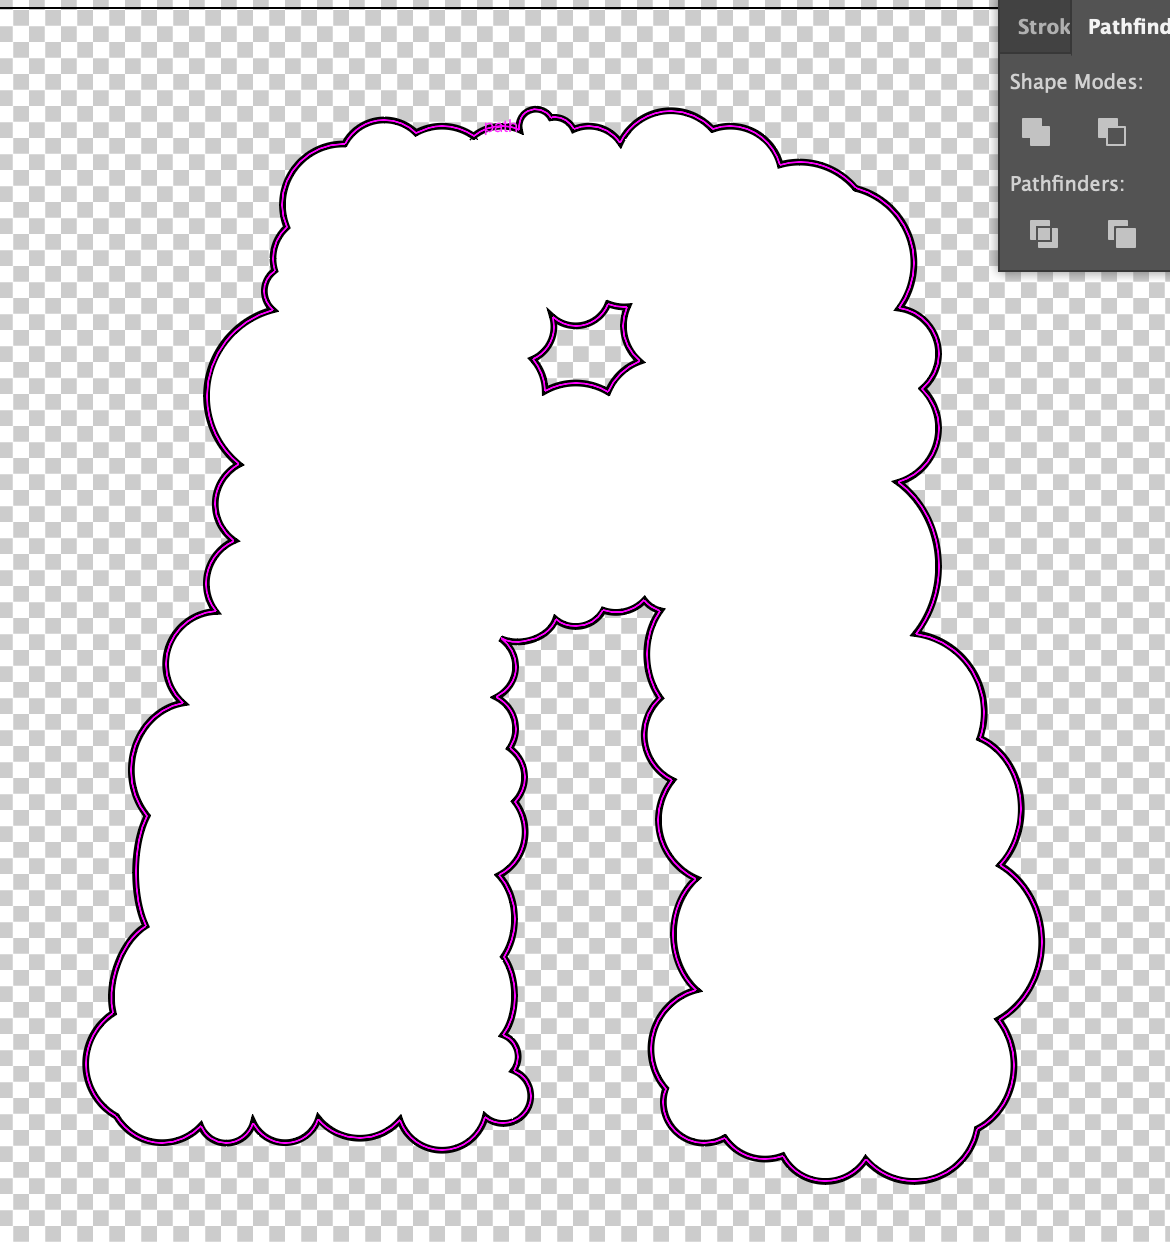
- Use the Pathfinder tool to merge the larger shape. You’ll need the “Unite” tool which looks like 2 squares merging together.
![]()
![]()
- Next, use the same tool “Unite” to merge the smaller shape. Delete the outer shape, so you only have the “hole”
![]()
- Use the mode “Minus Front” next to Unite to “punch a hole” in your larger shape. You’re done!
![]()
![]()