CUNY Queens ︎(ARTS241) Design 1
Knitting Circle:
Shape Layers
What are Shape Layers?
Shape Layers are how After Effects allows you to work with vector graphics. Dassit. If you want more specific information check out Adobe’s Help page on Shape Layers and Vector Graphics︎Why are Shape Layers (and vector graphics) “good”?
Vector graphics allow you zoom infinitely on a graphic because they are not based on pixel information. Vector graphics also typically have a very specific aesthetic (like the hamburger we made last week) that you may want in your animation.How do you make Shape Layers?
You can either make Shape Layers “from scratch” or by converting an imported Illustrator FileCreating Shape Layers “from scratch”![]()

- Un-select any layers (if you have a layer selected it will create a mask)
- Use the Pen Tool or one of the Rectangle/Ellipse/Polygon Tool to start making a shape.
︎ For the Pen Tool, click or click and drag to create shapes, this is similar to Adobe Illustrator. You can also change the fill and stroke.
︎ For the primitives, click and drag to create the selected shape - This will create a new Shape Layer in your Timeline.
- Twirl down the shape layer to reveal the properties. You can keyframe them from here.
Creating Shape Layers from
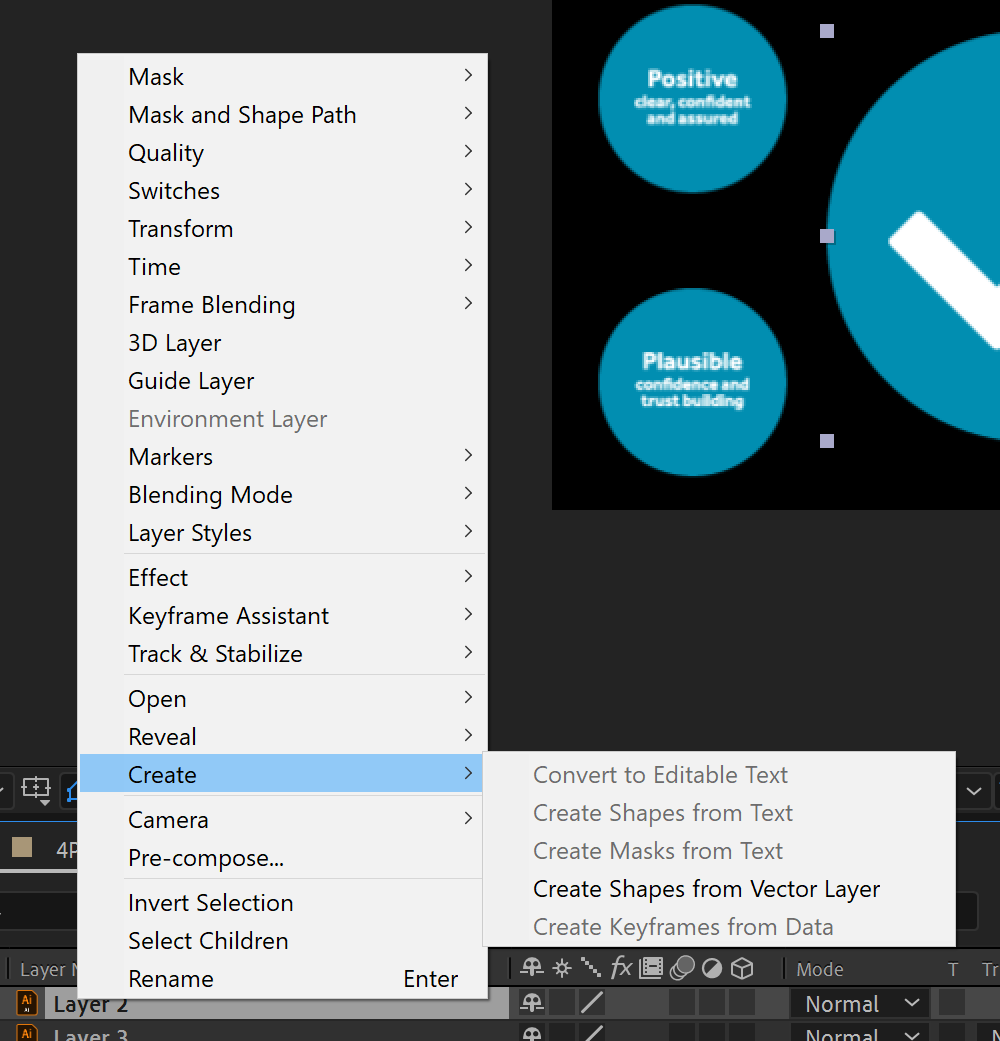
- Import an .AI file (double click on the Project Window then navigate to your file).
-
Create a new composition from the .AI file, or drag it into an existing composition.
-
Right click the layer and then select Create ︎Create Shapes from Vector Layer.
- This will create a new Shape Layer, and leave the layer with your AI file.
Things that are different about Shape Layers
Shape Layers have a new set of properties within “Contents.” In it you’ll find the paths or groups of paths you’ve created. You may want to separate these into separate layers depending on what you want to do. Each group of paths will have the ability to do the following: - Edit the path that you’ve created.
- Edit the stroke and fill, with parameters similar to those you’d find in Illustrator.
- Edit a separate set of Transform controls (position, scale, etc.)
Additionally, shape layers (and Text layers) give you access to what are called animators. One of the ones you’ll probably want to play with is Trim Paths.
Trim Paths
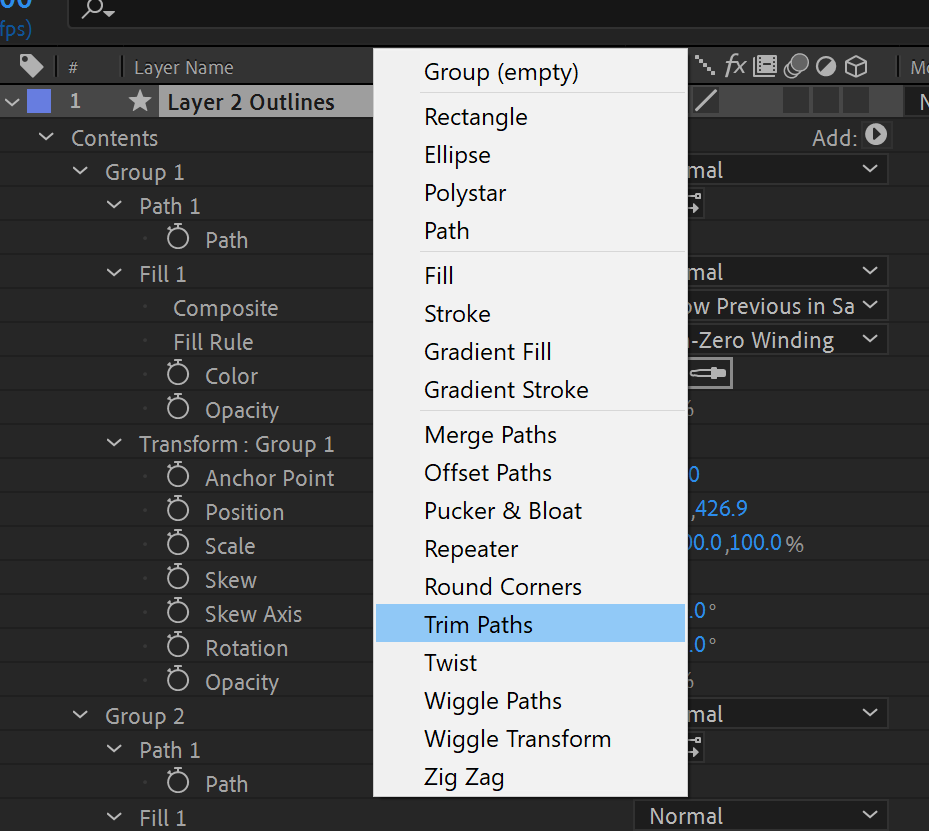

- With your content “unfurled” you can select add. Then click on Trim Paths.
- Trim Paths will be added to the selected path.
- Trim Paths allow you to change the “start” and “end” of a path. This also allows you to change the “offset” or where the path is supposed to start.
- You can manipulate these keyframes to make an object appear on screen, or create motion lines.
Quick Tip: The Full Un-Twirl
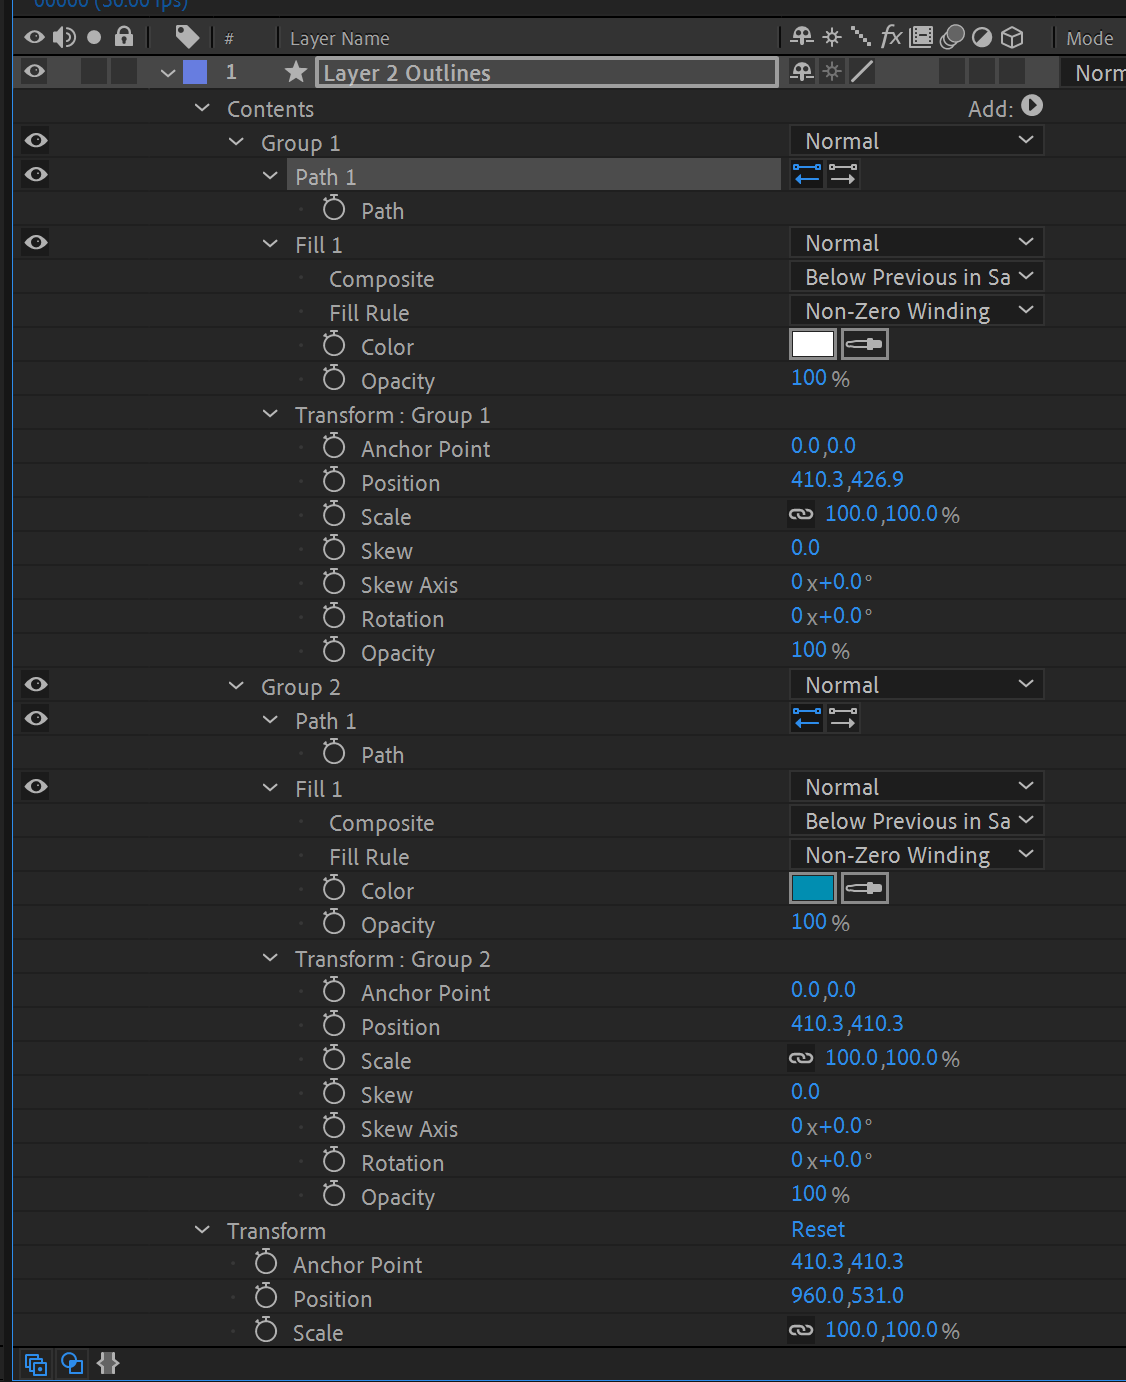
Trim paths introduce a lot of extra clicking. One quick little tip is to untwirl everything in the layer at once. To do this simply click the arrow for the layer, but hold CTRL or CMD while you do that.
Getting in “Gear” Continuous Rasterization
You might wonder how you actually, zoom in “forever” on a vector file. For a shape layer, this is on by default, and for .ai files you have to turn it on manually. To do that you use what’s called continuous rasterization. To activate it simply select the little box that looks like a gear for your layer.Note the second icon after the name below
 If this causes your layer to behave erratically, that’s because this switch also controls what’s called collapsing transformations. It’s a little bit too granular to get into now but just know that you might have to slightly alter your content if it doesn’t fully zoom.