LED Blink
The first thing we want to do is simply turn a light on and off. That’s it.
Rather than an incandescent or flourescent light bulb, or a smaller lamp used for other similar experiments, with the arduino we’ll typically use a light called an LED, which stands for light emitting diode.
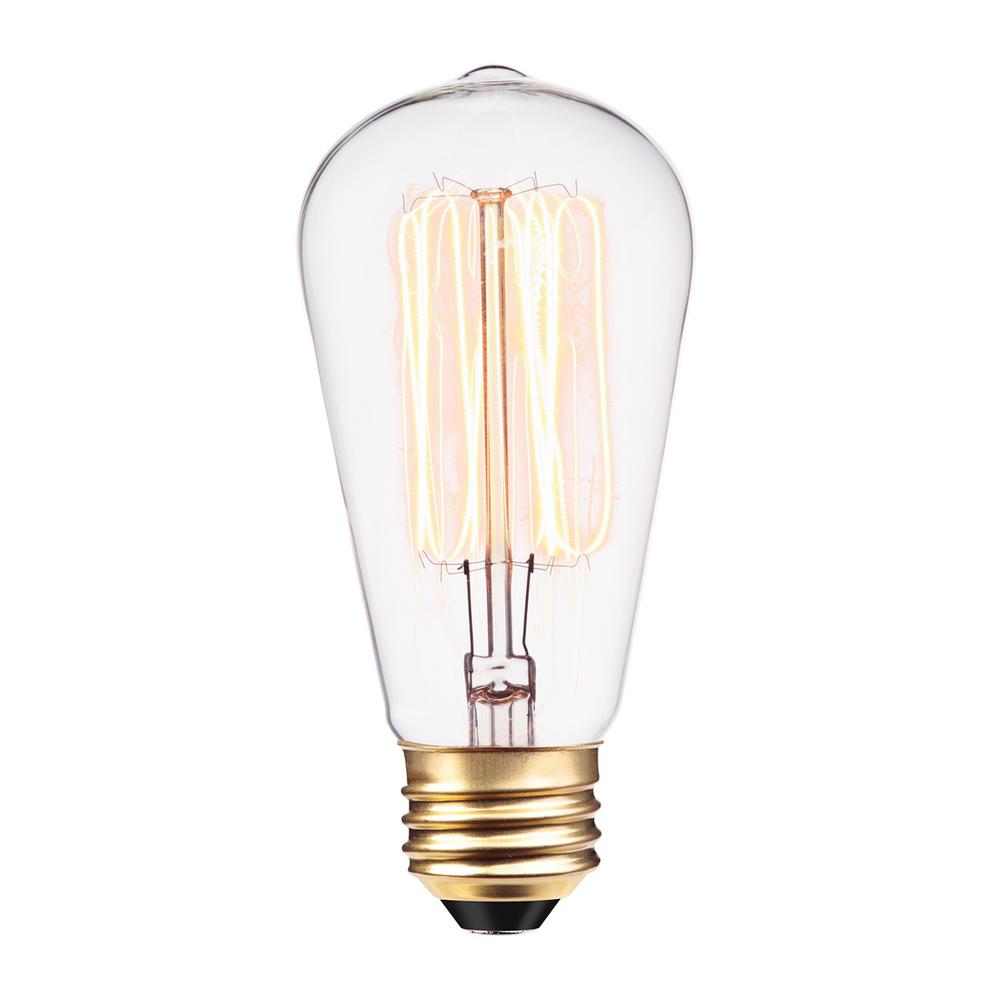
an incandescent bulb
 a flourescent bulb
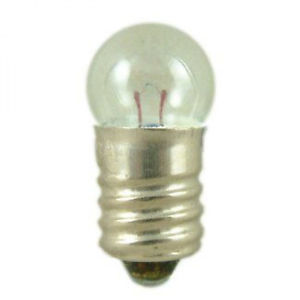 a small 9-volt lamp
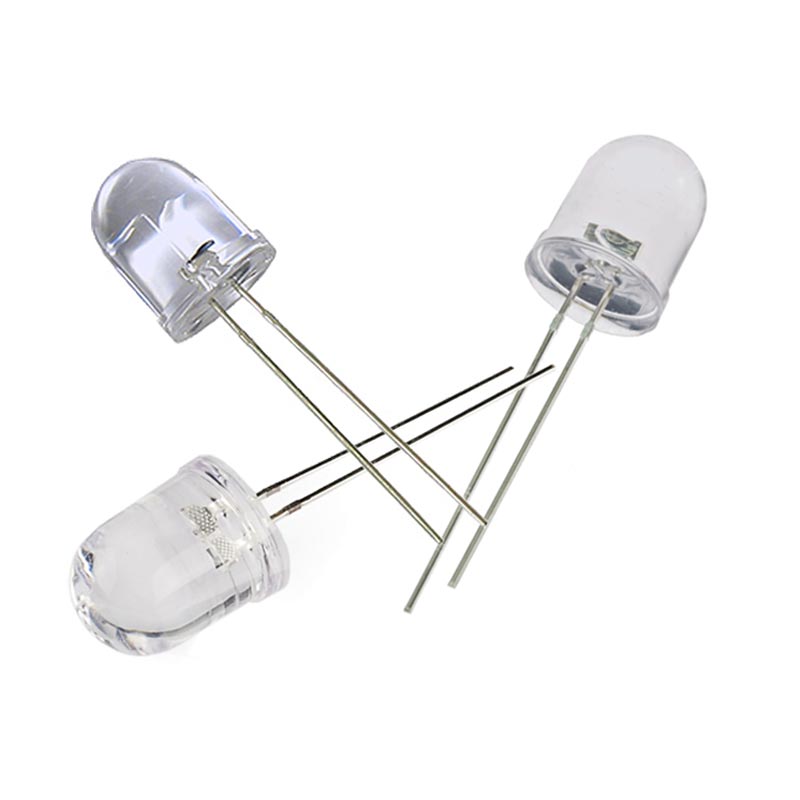 just a bunch of lil LED’s, hangin’ out.
There are a lot of different types, sizes, configurations, and colors of LED’s. You should peruse the different varieties for use in your projects, or just for kicks.

 a bunch of different LED’s from this Sparkfun article.
Let’s get to the project. Simply plug in your arduweeny to your USB port and upload this code to it.
More on what this code does in a bit, but you should be seeing something that looks like this.
[video of Built in LED turning on and off]
Using our own LED
Next, we want to use our own LED rather than the one on the arduino. To do this we need to assemble the following circuit→
Make sure that you understand [link] how a breadboard works [/link], and wire everything up. What we are doing is putting a resistor in front of the LED. This prevents too much current from hitting the “front” of the LED. Current is like “water pressure” if we think of electricity like water. If you want to know more about resistors please check this page out. LED’s will almost always have a resistor in front of them to limit the current, this is thus called, a current-limiting resistor
Ever so slightly more information on LED’s.
An LED is polarized meaning it can only be seated in one direction. The positive end must connect to our LED pin (13), and the negative must connect to ground, GND. This just makes the circuit “complete” within the context of the LED. The positive end of an LED is called an anode while the negative end is called the cathode. You can tell the anode from the cathode on an LED because it will have a longer leg.
[image of an LED with Anode and Cathode labeled]
Okay, so what’s up with that code though?
The code should look somewhat familiar from processing. Setup() will happen first, and only happen once, while loop() will repeat continuously. We don’t use draw() because we don’t have a screen like in processing.We have several commands here that we’ll see often:
- pinMode() is what we use to “configure” our pins. It needs a pin number and a setting; “INPUT” or “OUTPUT.” INPUT means we are giving a signal (this would be for a button for example) while OUTPUT means we are sending a signal, to our LED in this case.
- digitalWrite() is how we turn our LED on and off. We are essentially “talking” to the pin and telling it what we want it to be set to. We give it a value, either “HIGH” or “LOW” and a pin. In this case we want to talk to the built-in LED which is at pin 13. (”LED_BUILTIN” is just a predefined value which equals 13, we could also write this as digitalWrite(13, HIGH)). HIGH will set the pin to 5V, while LOW will set the pint to 0V.
- delay() just waits the amount of milliseconds we give it. So 1000 milliseconds will wait one second. The loop() will run very quickly so we want to make sure to wait a certain amount of time so that we can actually see the LED turning on and off.
Once we hook everything up, here’s what it will look like.
[video of BLINK with LED]
Ya did it! Here are some exercises
- Modify the code in digitalWrite() so that LED_BUILTIN is an integer variable for a pin on our board (0 - 13). Attach the LED and code to use another pin on the digital output side of the arduino board.
- Connect up to 5 LED’s to different pins on the arduino board, flashing in a sequence or pattern of your choice.
- Modify the code to create a short morse code message with light. Morse code uses a series of dots and dashes to create a message. Here’s a table of the letters, and an example of it working with sound
As implied by this exercise, morse code does of course not need to be sound. An interesting example is a POW in Vietnam, using his eyes to blink out the message “torture” while being interviewed for propaganda purposes.![]()
