(Exercise) Risograph Intro
Introduction
This will be your reference page for us doing our risograph demonstration in the CMFT. This will walk you through the process, and provide a reference for when you have to do it yourself.
What is the Riso(graph?)
The Risograph is a device that allows us to create multicolor prints with rich oil-based inks. It is slower than an inkjet or laser printer, but faster than screenprinting or lithography. That being said, in using it, the process is closer to creating a screenprint.
Why is it cool? (subjective)
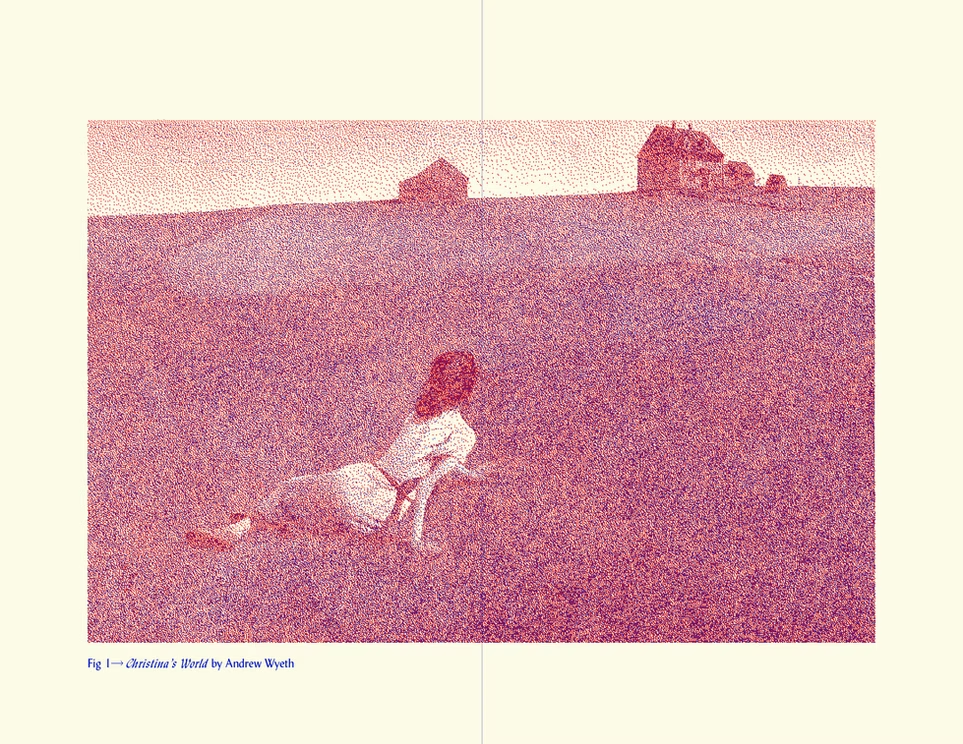
You can make "cool" things like the images below. Additionally, it will become exceedingly difficult to access a risograph, effectively for free, once you are not a part of this institution.
You'd have to take a class/workshop at somewhere like Secret Riso Club ↗ or pay several thousand dollars for a risograph that you'd have to service yourself.


How does it work?
Below are video tutorials on very similar looking units:
Note that some risographs have one or two drums, the one on campus has one and we have access to the following colors:
- red
- "blue" (a darker, navy blue)
- cornflower blue
- yellow
- hot pink
- "gold" (a yellowish brown, not metallic ink)
- black
Basic Overview
-
create your image
-
for each color in your image:
- remove the current color drum
- insert the one you want to do next
- create your master
- print the color
In more detail:
1.create an image
-
This would be before you get to the risograph. Create your image (draw, or print). Note the maximum size of a print is 11" x 17"
-
split your image into multiple channels (R,G,B. C,M,Y,K. Blue/Red, etc.)
-
print each channel as a black and white image OR
-
draw each "plate" for each of your colors.
2. decide colors and change drums
- open the drum case
- grab the blue handles (note that anything you're intended to touch on the risograph is this light blue) and bring the drum over to your work area.
- open the risograph's front door
- press the button to release the drum
- pull the drum out, and then place it on the ground next to the drum you want to use
- put the intended drum into the machine in the same fashion (blue horizontal handle facing outward)
3. create a master
-
on the left side of the printer, place paper into the risograph
- press the blue button to lower tray down
- adjust the sides to make sure they are flush/tight with the paper
-
press the button that says "master make"
-
open the top of the riso, and place your print in carefully
-
make sure your print is set to the correct size
-
press start and wait for your master to print.
-
assess the print and adjust if necessary
4. print
-
select the print button on the risograph
-
set the number of copies you need
-
press start
-
repeat the above process for each side of your print
Common issues or errors
-
too many sheets fed at once → this is simply a warning. The risograph will stop and simply ask you to confirm multiple pieces of paper were not fed at once.
-
something is stuck or the risograph thinks something is stuck → The screen will indicate where it thnks the blockage is, open the door and pull out the drum to check/confirm. If there is nothing you can see, simply replace the drum and put the paper back in.
-
masters are not auto replacing → You will need to manually remove the master from the drum in this case. This is quite messy, I would suggest asking for help or letting one or more of the people below know about the issue.
-
chamber with masters is jammed → check the chamber with masters and remove them. This is also messy so please make sure you
-
original not detected → If you set your master image down before changing the drum, it will sometimes think you did not put a master into the bed.
Who do you talk to for issues
If you have issues with the risograph, or try any of the above steps and a new issue emerges, email either of the below people.
- Yong Hee Kim → yong-h. kim@purchase.edu
- Celeste Joyce → celeste.joyce@purchase.edu